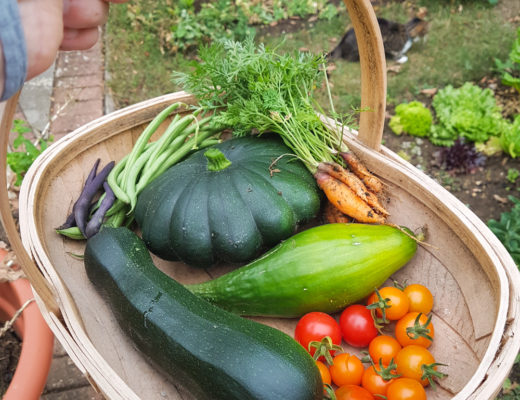
 This past weekend, Shane and I started building our raised garden beds ready to plant our vegetables for the year. We started growing vegetables last year in some terracotta containers, but only the lettuce and spinach really worked out great as we found the terracotta heated up too much and dried out the soil throughout the day.
After doing lots of research about what wood is best to build raised beds from, we found that redwood or cedar were the most recommended as they’re naturally rot resistant so they don’t need to be treated with any chemicals which can seep through to the soil. We found Wickes to be the cheapest DIY store to buy it if you’re in the UK.
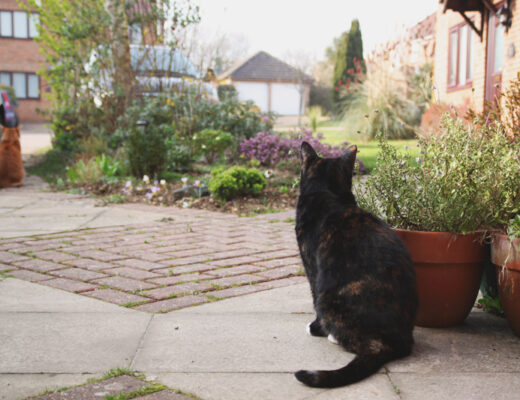
The area that we put our raised bed is actually in our front garden as this area gets the most sunlight during the day and we have free range chickens in our back garden, and didn’t fancy having to build some kind of chicken barrier haha! We measured the size of the area that we were going to use and calculated how much wood we’d need. We decided to go with 140cm x 70 cm (55″ x 27 1/2″) with three layers to create enough depth for root vegetables like carrots. Make sure that if you can’t get fully around the box that you can easily reach over to the other side as you don’t want it to be too wide.
 SUPPLIES:
– six 20cm x 14cm x 2.4m planed untreated redwood
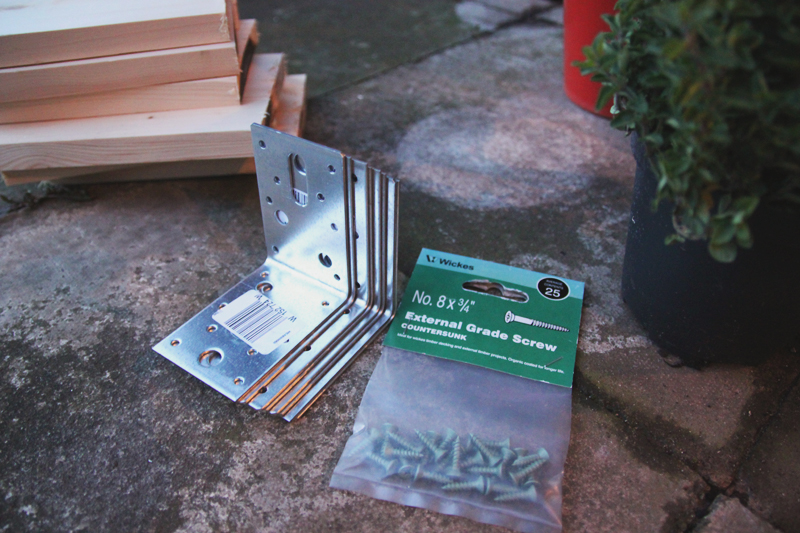
– eight metal 10cm x 10cm x 5cm corner angle brackets
– a pack of exterior grade 8 3/4″ screws
– mitre saw (or any saw)
– power drill
– plastic bags, or lining
– compost/topsoil
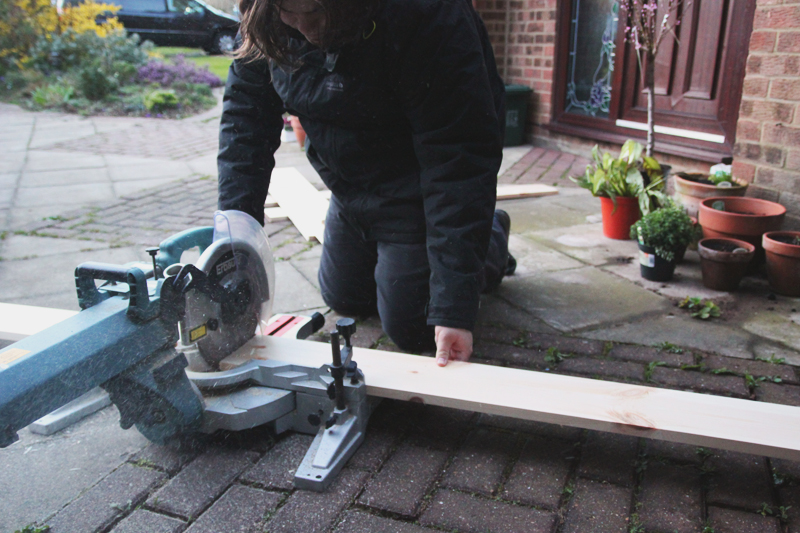
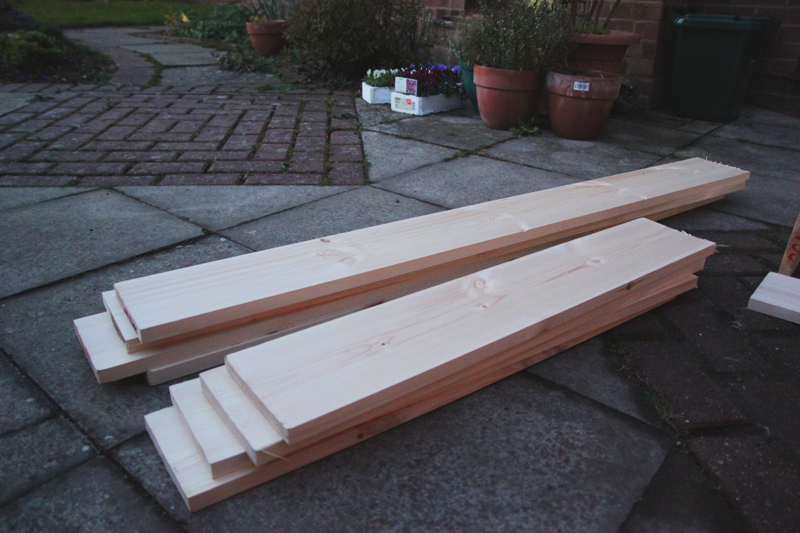
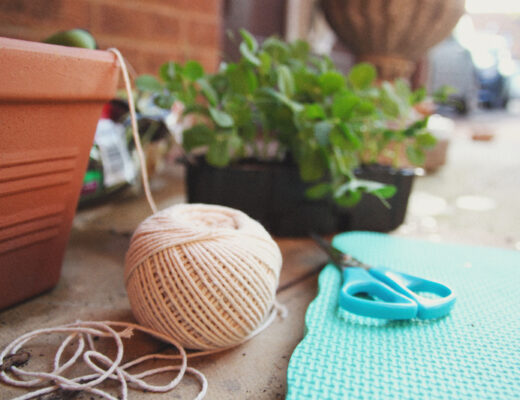
To start with, we marked all of our wood lengths out (we could get one length and one side from one plank of wood, with only a little left over) and cut them all up ready with the mitre saw which saved a lot of time!
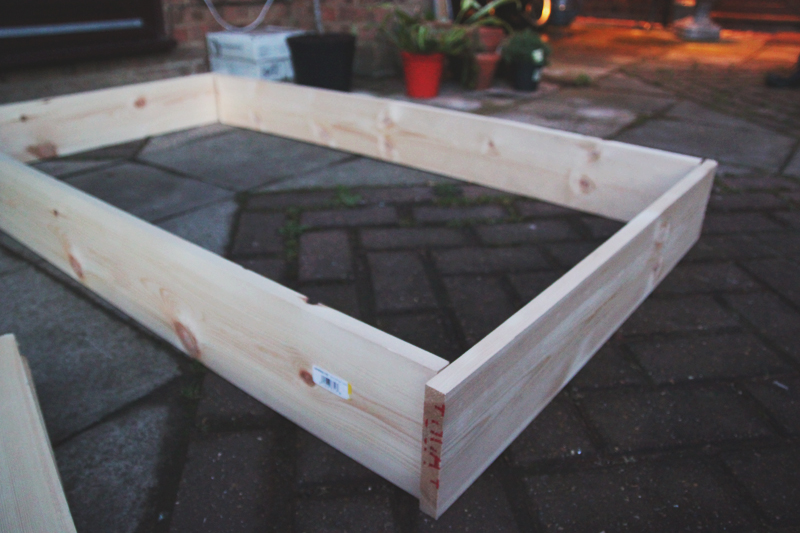 Step One – Set the wood out as it will be positioned and screw a bracket in each corner to create the box shape, attaching all of the wood together. You will want to attach the brackets so that half will be on the bottom layer and half is ready to attach to the second layer, securing the layers together.
Step Two – Repeat step one with the second layer securing each piece of wood to the brackets as you go till you have your two layers complete. You can either leave it as this for a shallower raised bed, or continue to make a deeper bed.
Step Three – Secure the remaining 4 brackets to each of the top corners as in step one, so that the wood on the middle layers has two brackets on it securing each layer together. Then repeat step two, attaching the third layer of wood.
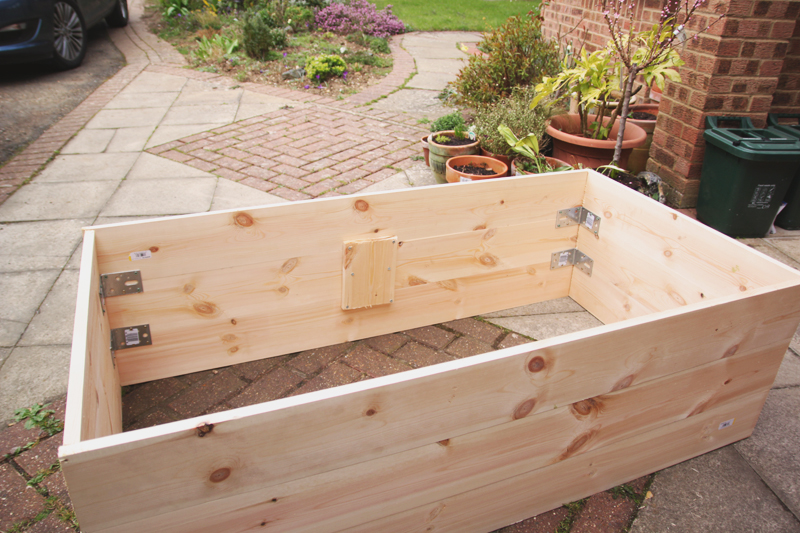 Step Four – If your box is quite long, it’s best to secure the middle of the longer lengths together to stop the pressure of the soil bowing the wood out and possibly breaking. We used 2 of the leftover pieces of cut wood and just positioned them in the middle of the long pieces of wood on each side down the three layers and screwed it on, just to make it a little stronger.
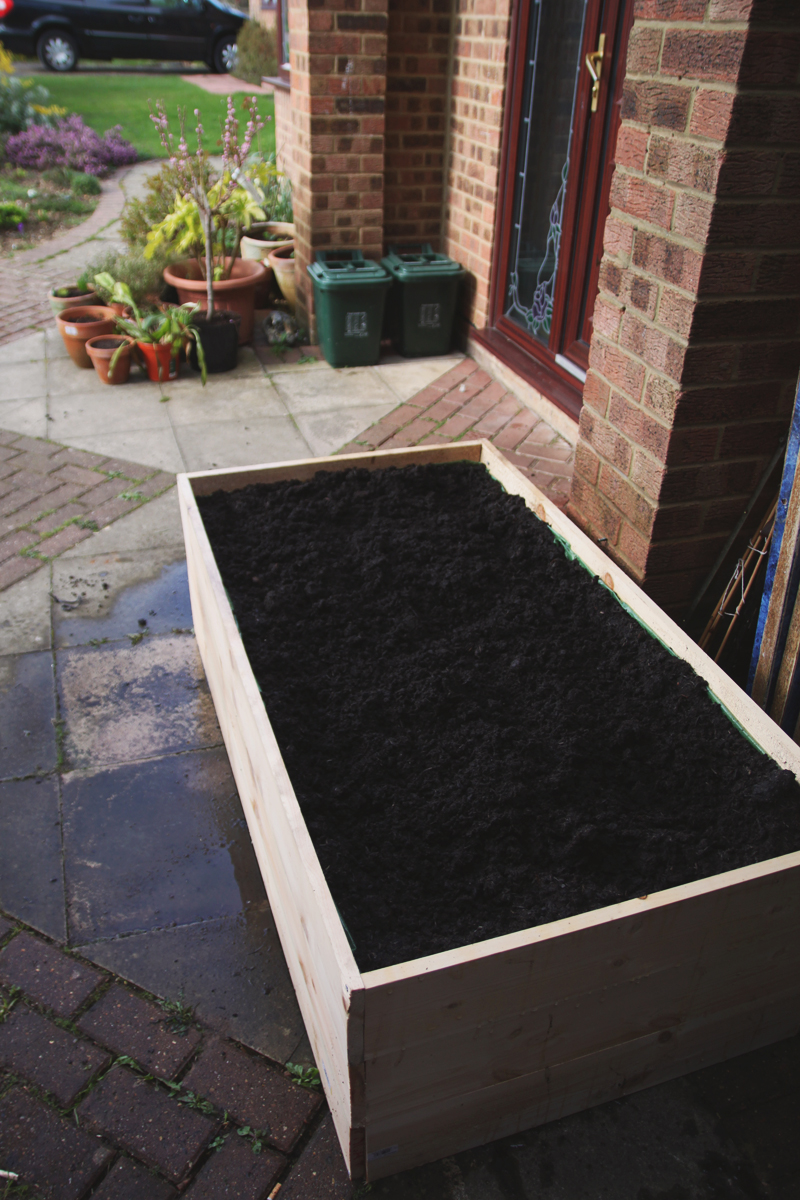
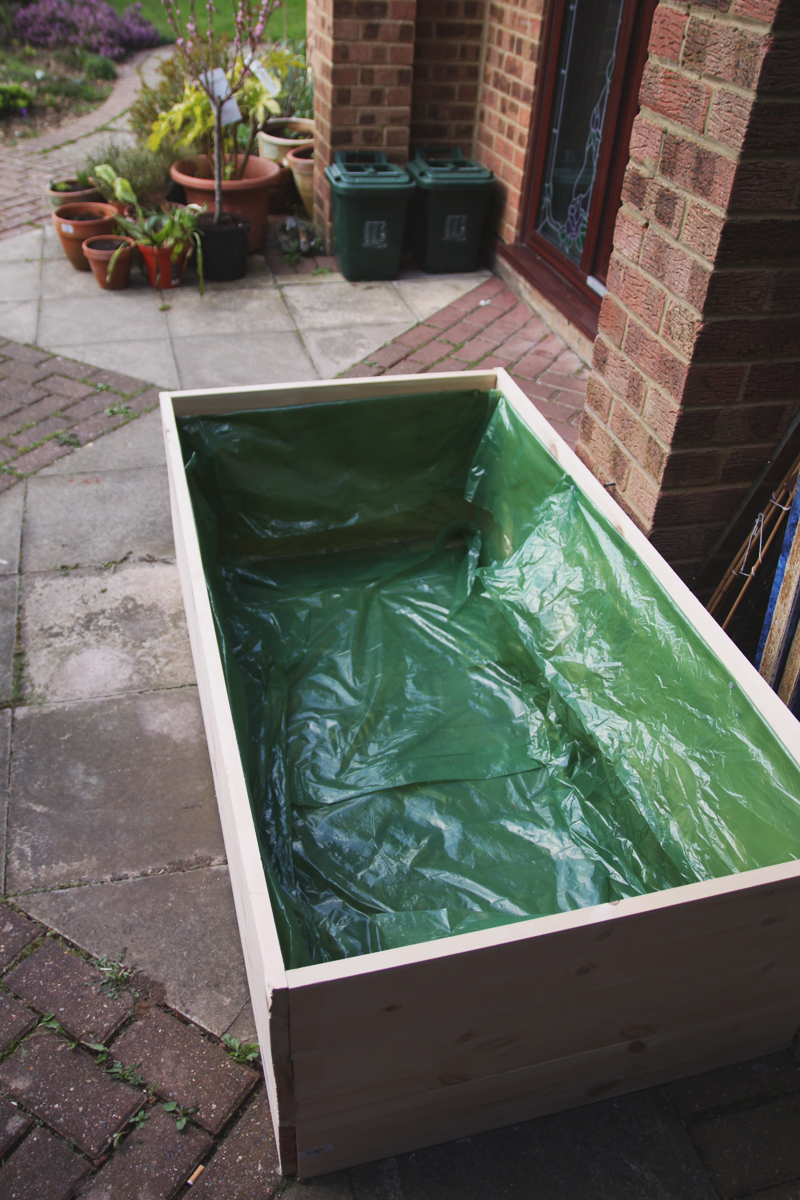 Step Five – As our bed isn’t sitting on any soil, we lined our bed with plastic bags and poked hundreds of holes in to let any exess water easily drain out, so the soil wasn’t sitting directly on top of the slabs, we then filled it with a mix of top soil, multipurpose compost and vegetable compost. I was planning on adding in some vermiculite to improve the aeration and moisture retention, but I had some trouble finding any in our local store.
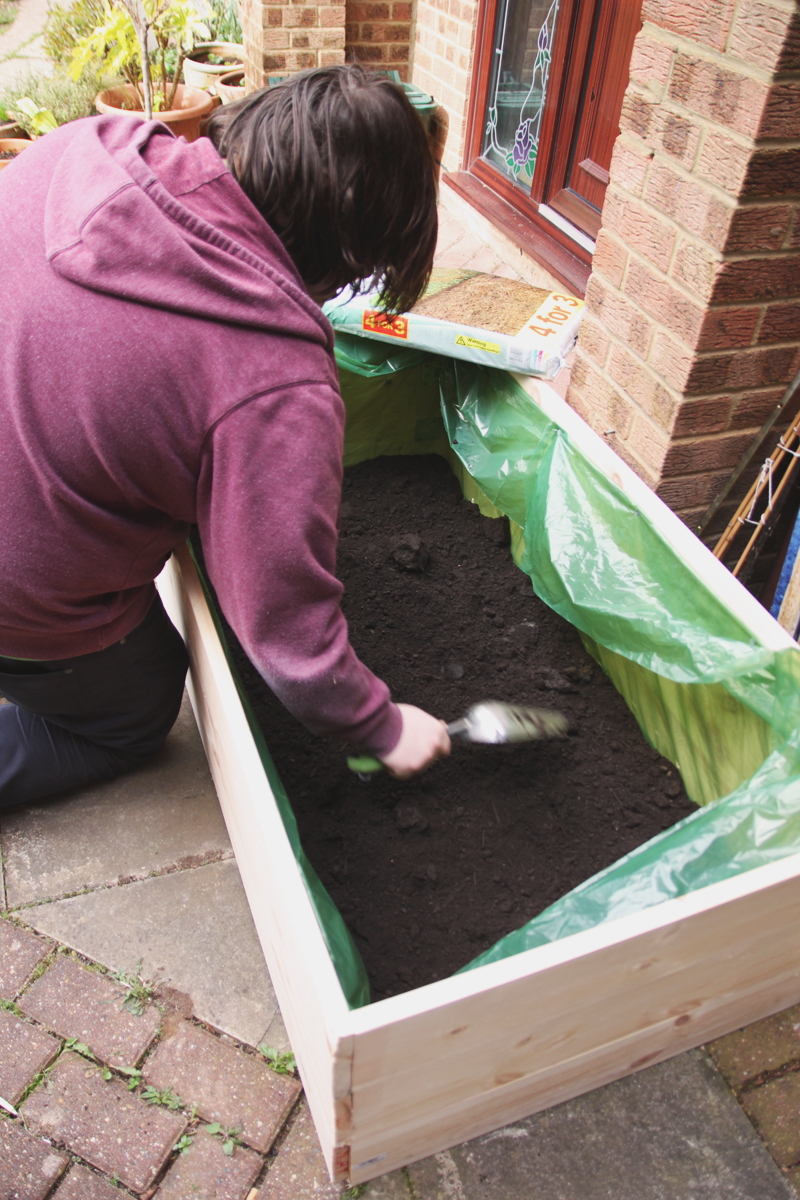 And thats it! The supplies were pretty cheap, costing us only around £45 for the wood and the brackets. We already had some screws and all of the power tools. We found the most expensive thing was the compost! To fill our box, we needed around 550litres of soil which cost us around £50-60, but I’m sure if we’d have shopped around in advance we could have found a better deal. It actually worked out a whole lot cheaper to build it ourselves than to buy a ready made raised bed instead and only took us both a couple hours to complete it. Now I just need to get planting all of my seeds!

1 Comment
Lisa
June 16, 2015 at 1:39 pmWas really helpful… I amid project and came across this and I think I can progress now! Thanks