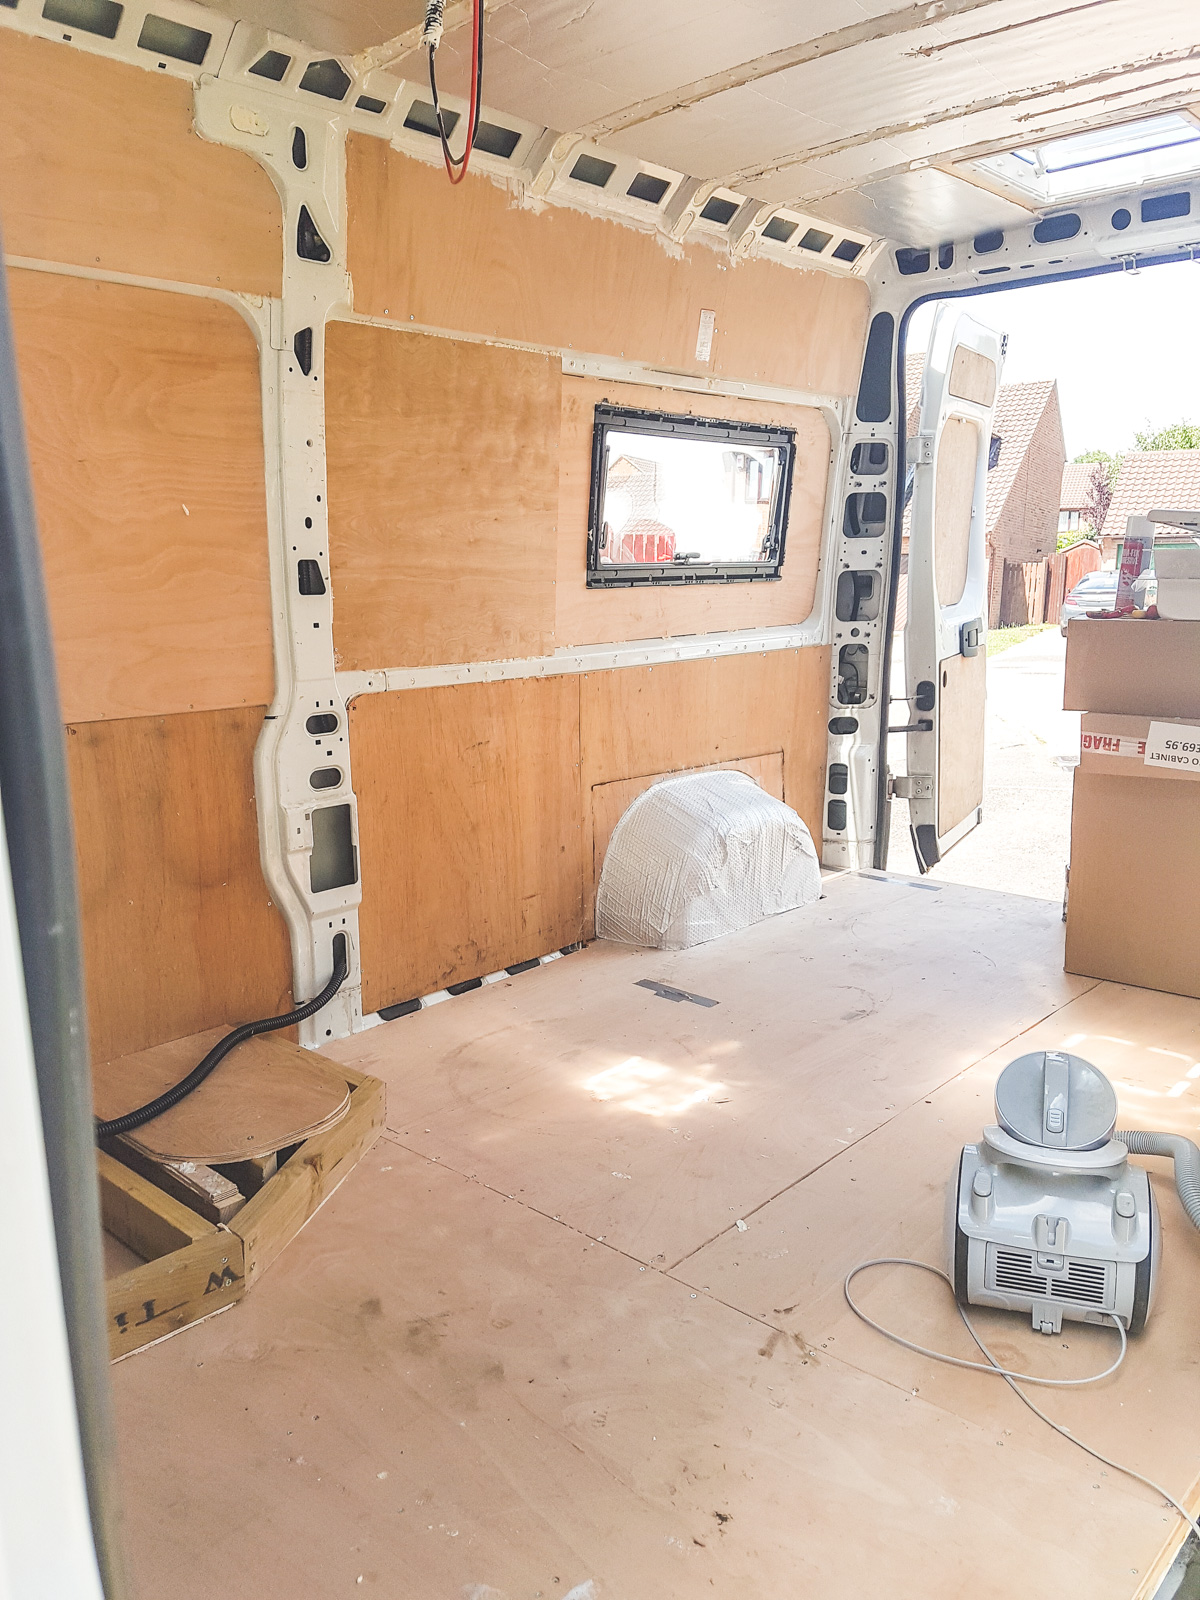
I’m so happy with the progress that we’re making on this van! The last one seemed SO slow in comparison. I mean in 10 months all we’d managed to get done on the last one was rip out all the plywood, fix loads of rust issues, insulate it, install 2 side windows, 2 rear windows and install a swivel chair. To be fair, it did spend a few weeks in the garage at a time, and Shane tried so hard to prevent any further rust issues, but it just wasn’t meant to be.
We’re actually both so happy that van died, because we’re so much happier with this van. It’s a lot easier to convert, it has way better insulation (the transit had holes built in the design of the van, so airflow could get in which let cold air in), and its so much bigger so we’ve got a better floorplan now (with a bathroom).
As that first one set us back so much, Shane’s determined to make progress on this one so we can get a few adventures in it by the end of the summer. We’re actually hoping to go away in it next month to Wales!
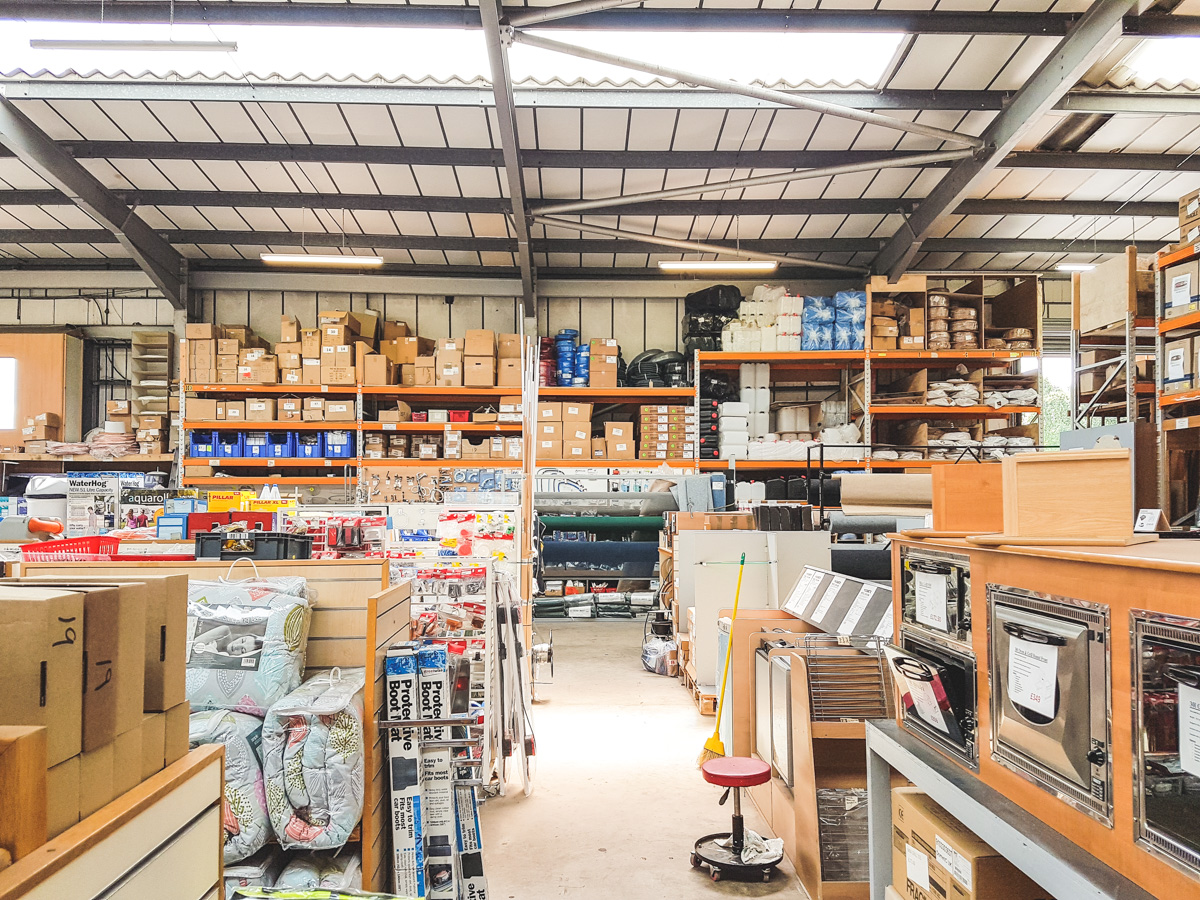
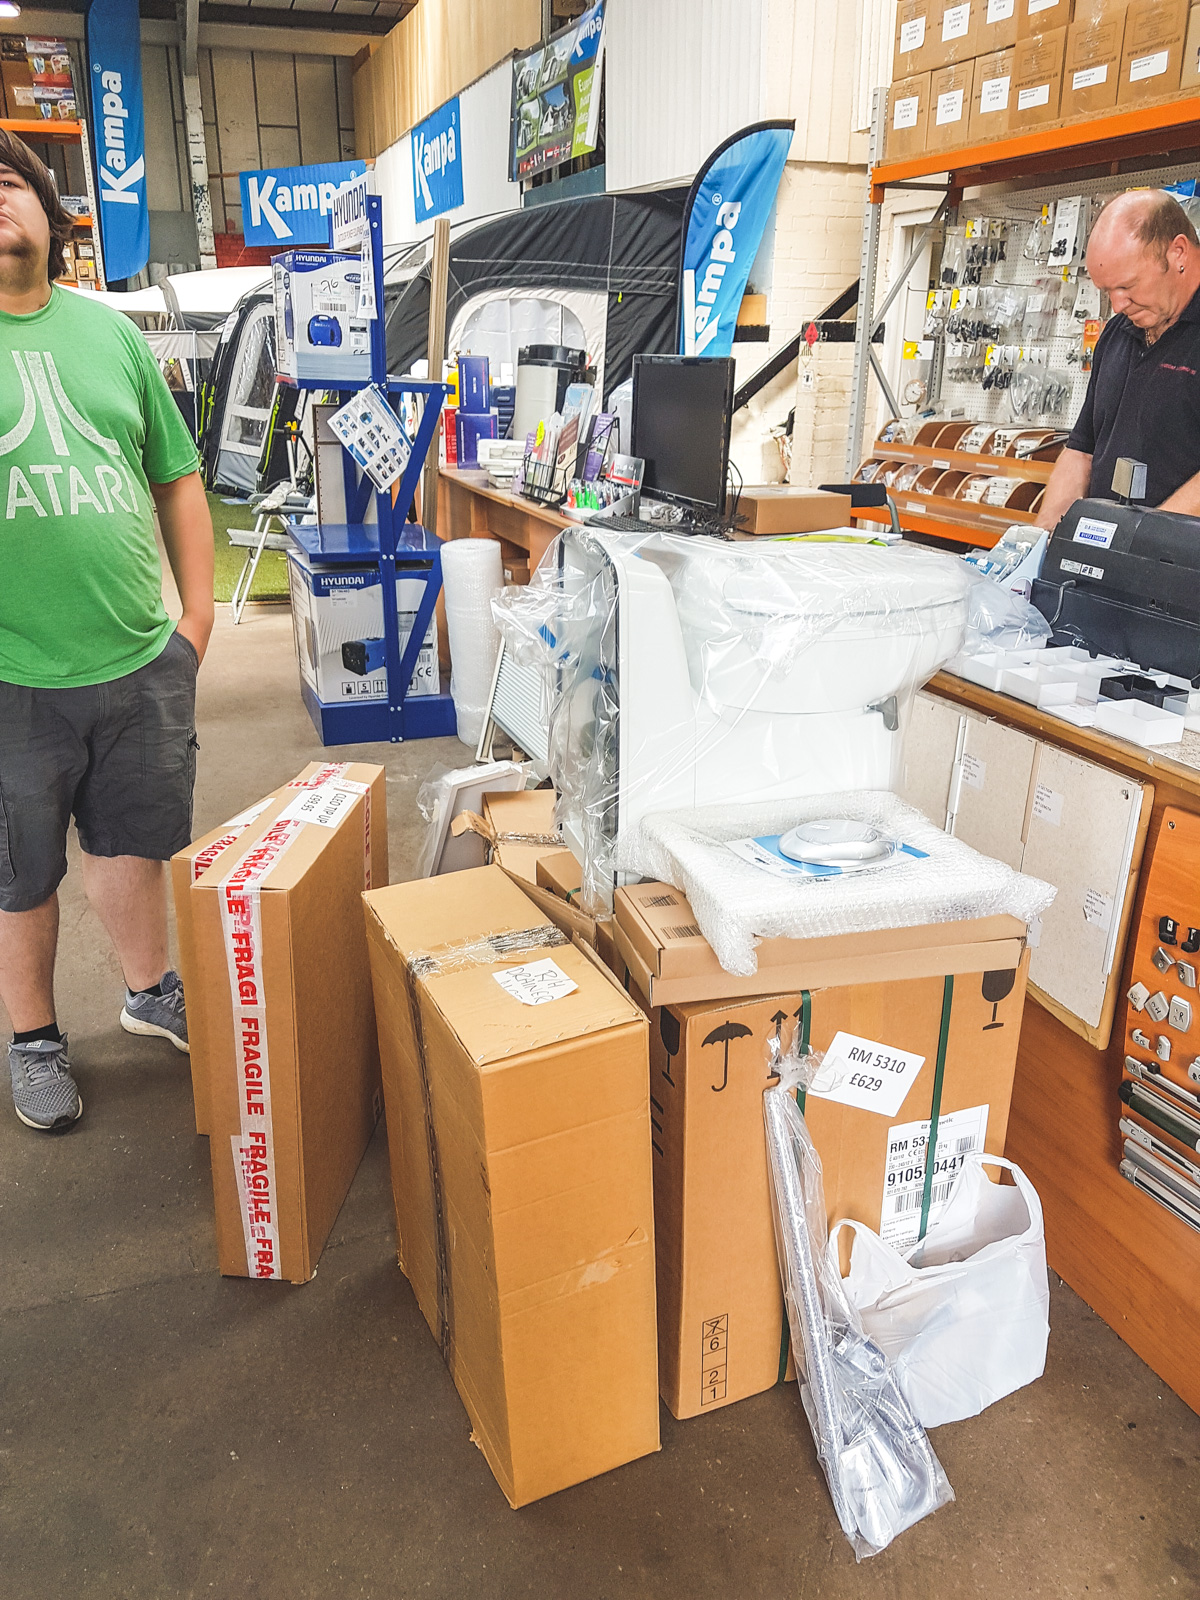
So since the last update post, we’ve made a whole load of progress! We went to a huge campervan store up in Grimsby which is amazing for anyone converting a van because they literally stock everything you could need. We spent SO much money, but we bought all the major appliances that we need so that’s most of the expensive things bought.
We bought the hob/oven combi unit, a fridge-freezer, sink/drainer, toilet, bathroom sink, cabinet and shower unit, and some lights that we can have on in the evenings in the sofa area instead of the bright ceiling lights.
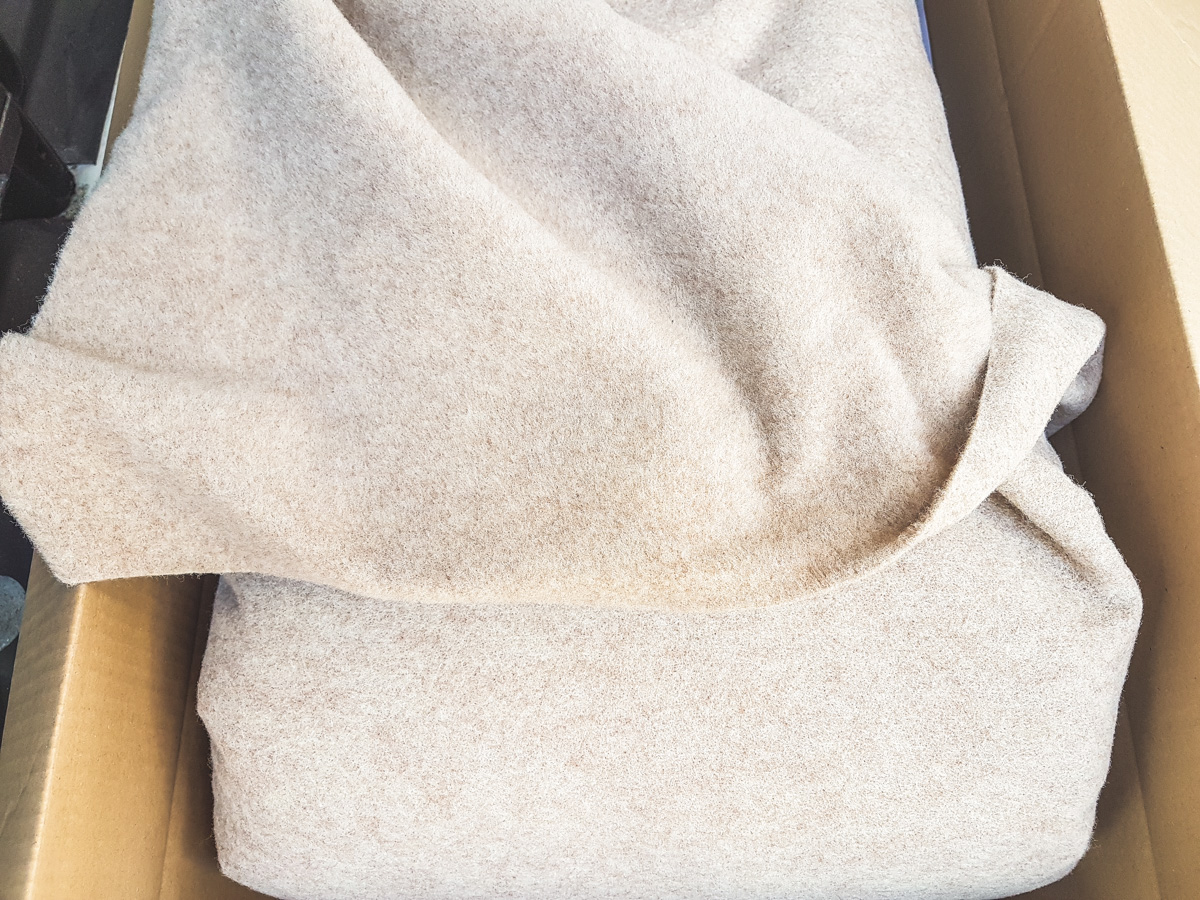
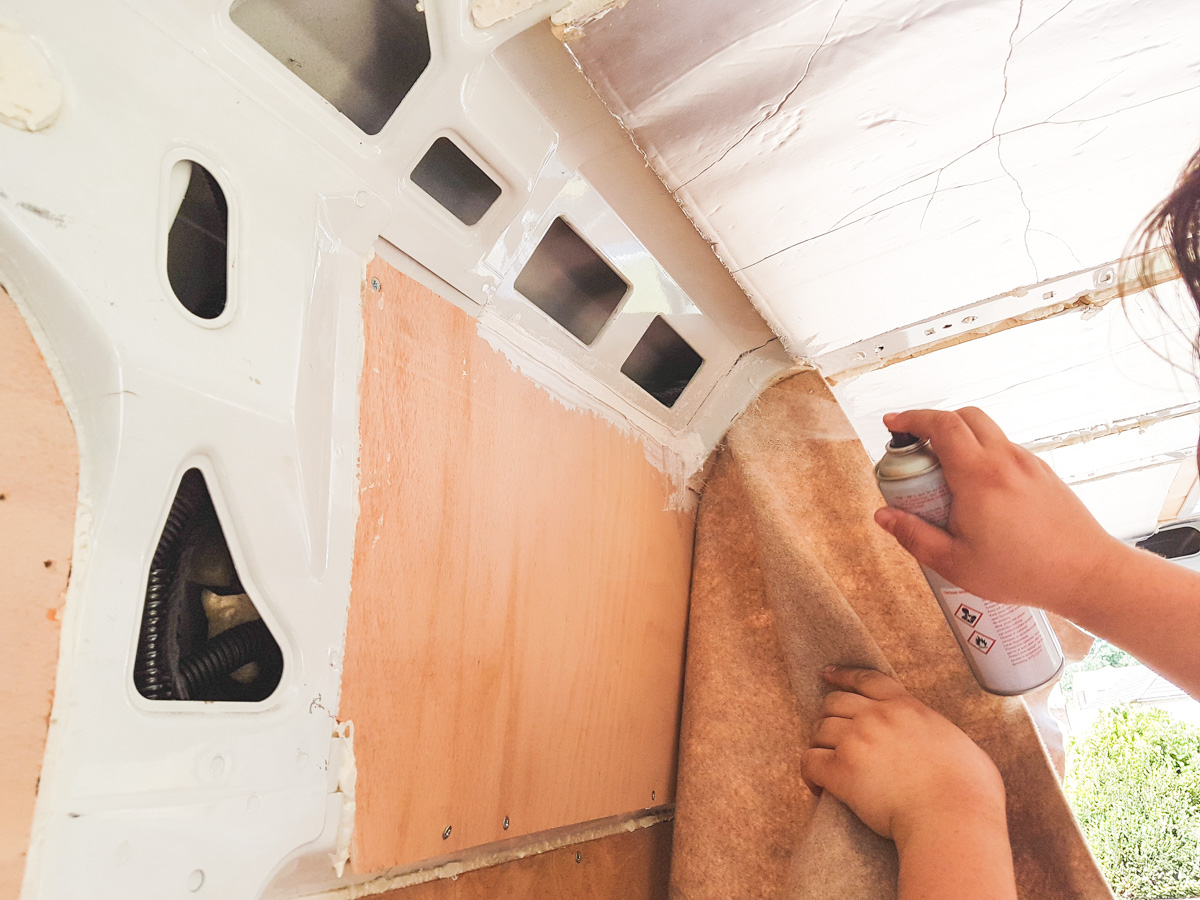
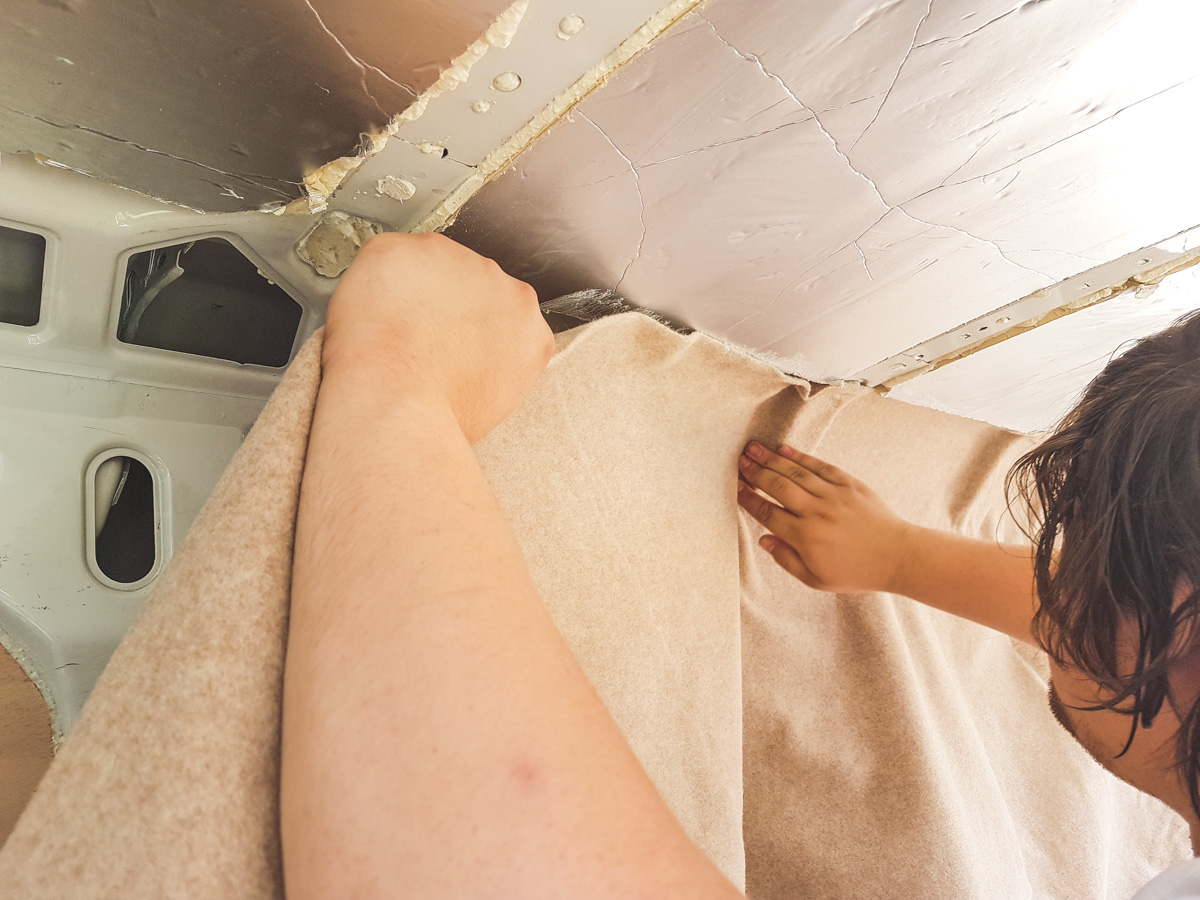
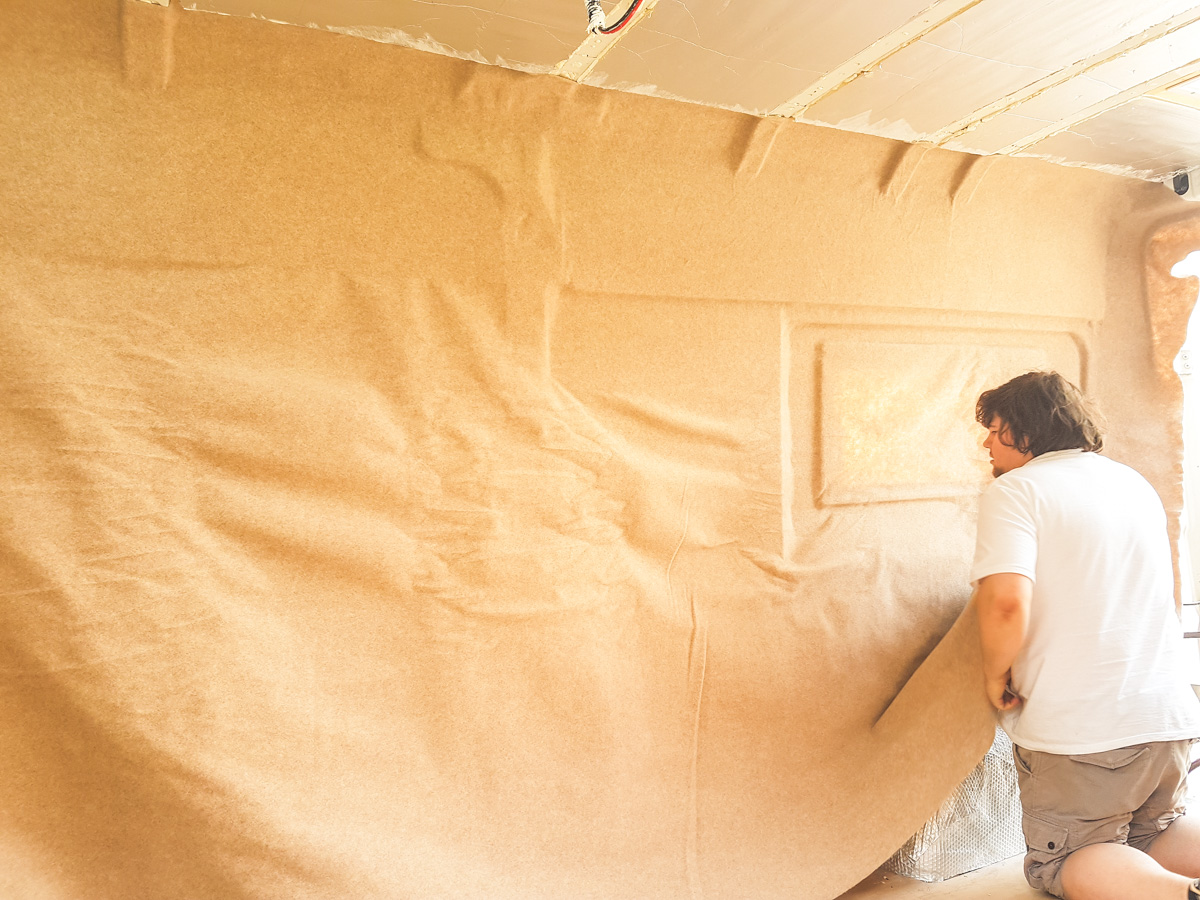
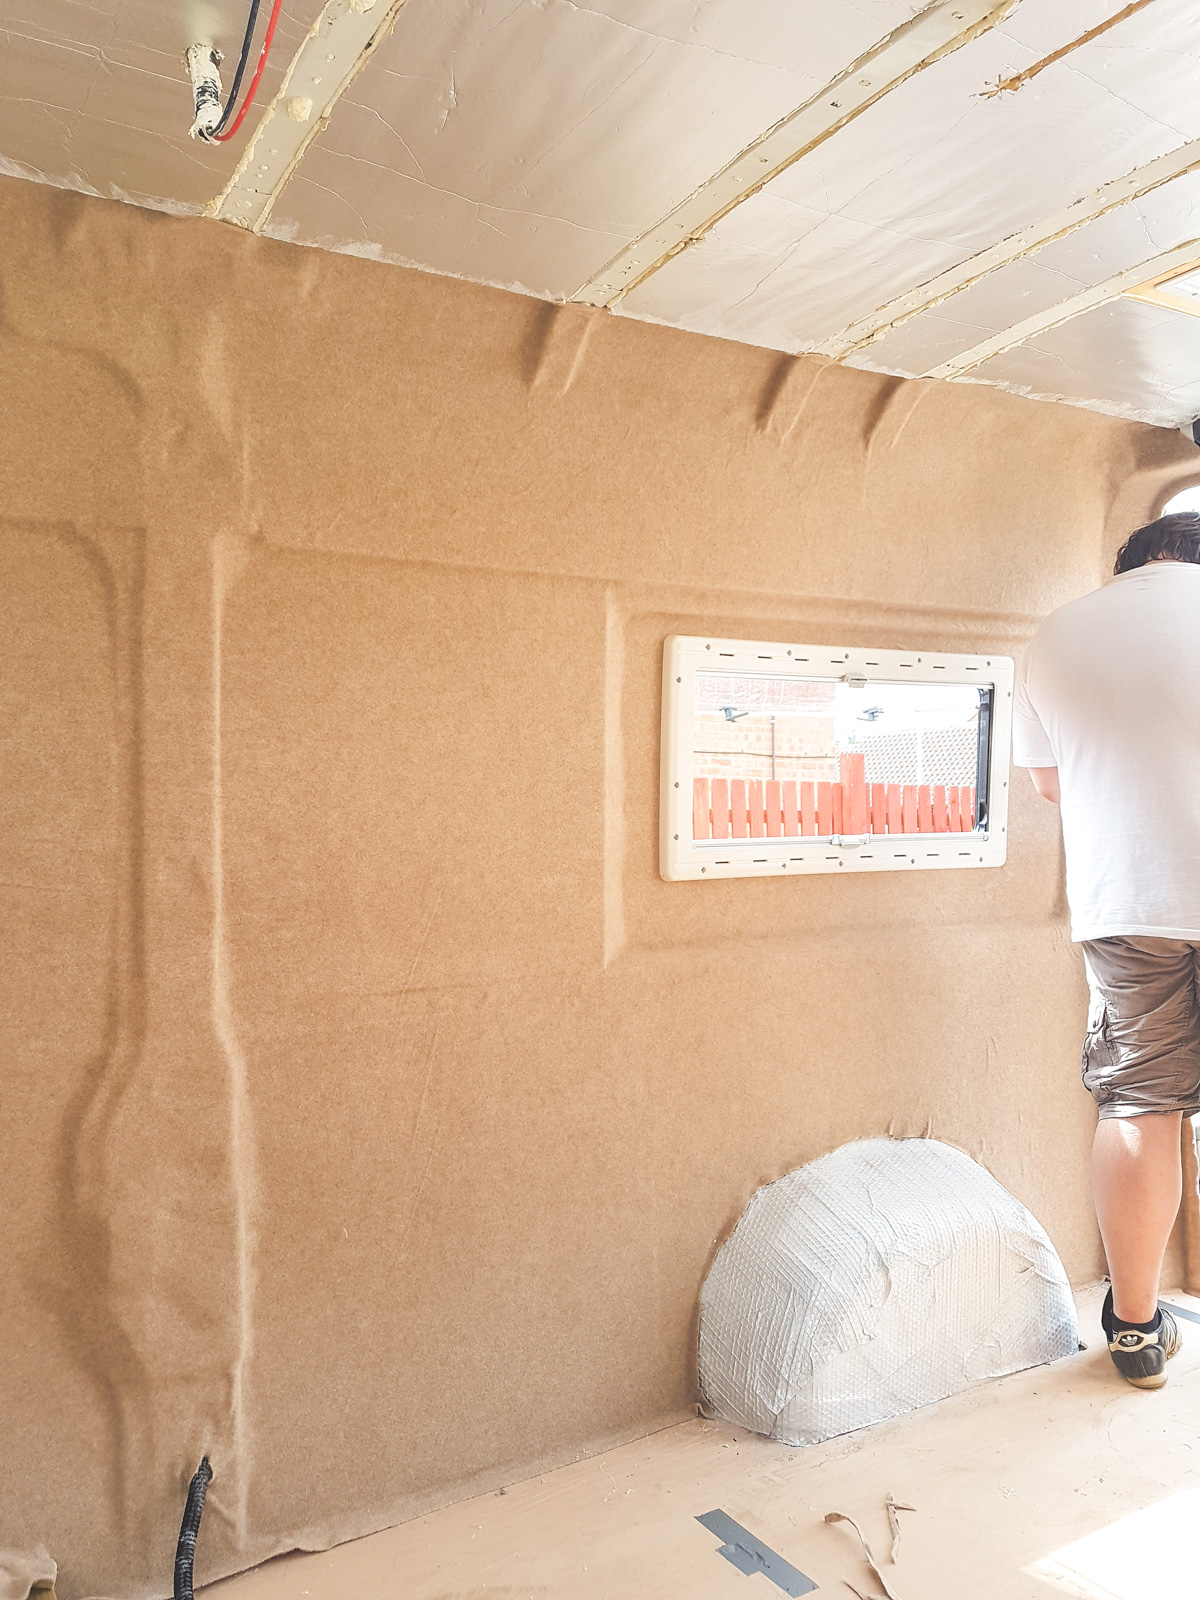
Then we started on the carpeting of the walls. We didn’t want the plywood showing in the van as it’s not the nicest finish, so it tends to be carpeted inside to even it all out and create a nice warm atmosphere. We chose a stone/sand colour as there aren’t too many colours to choose from. Basically sand, light grey, dark grey, black and a few other boring colours.
I really wanted to go for a light grey, but we thought it might make it seem really cold in the van so decided to brighten it up with a sand colour instead. It actually looks ok and ended up being a similar colour to the plywood anyway.
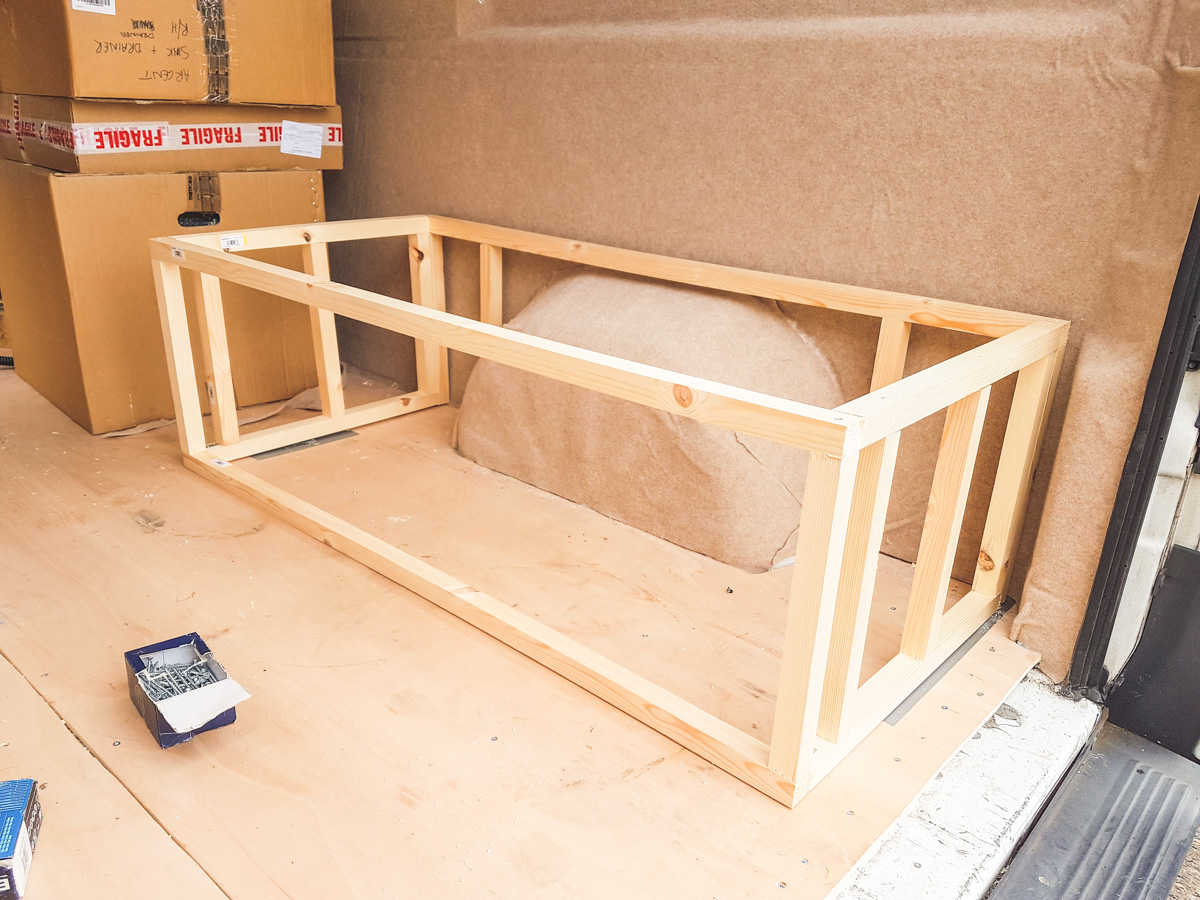
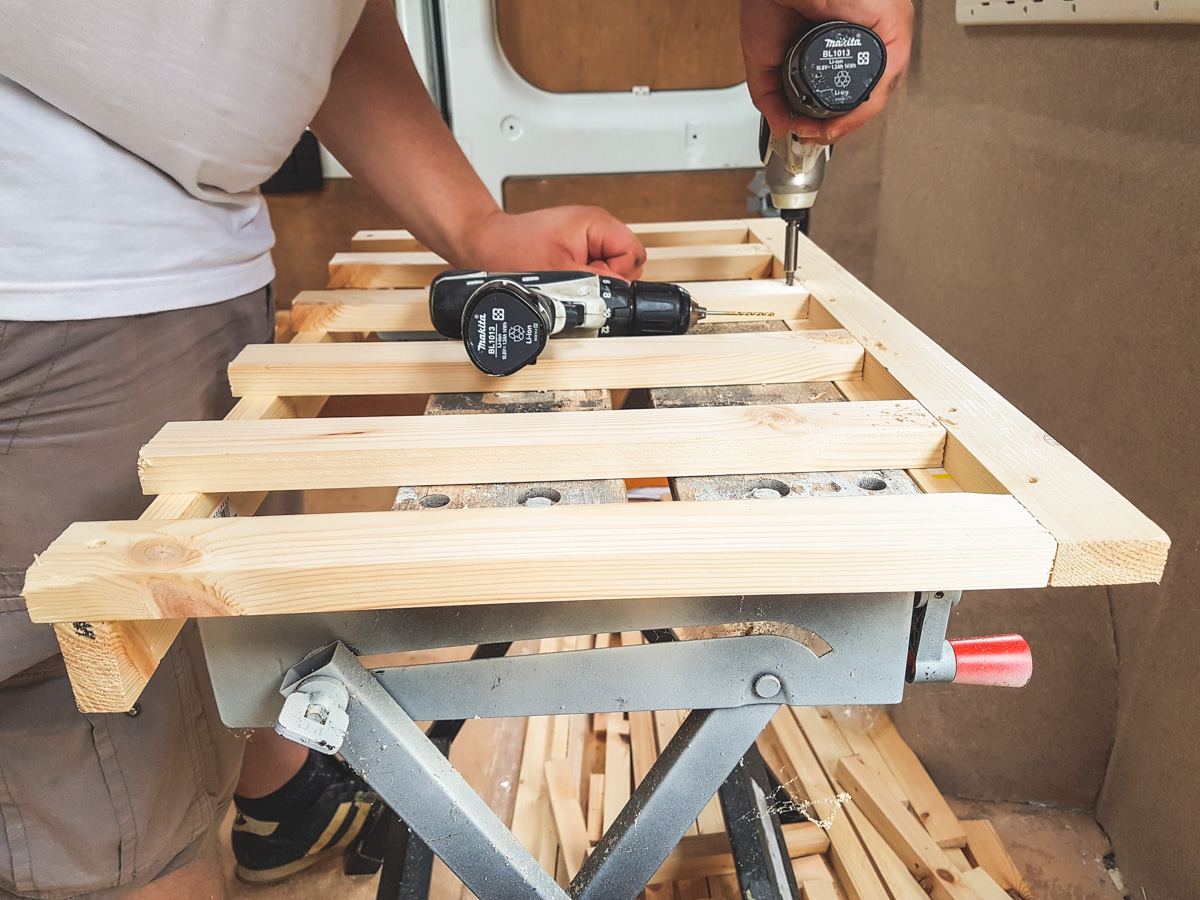
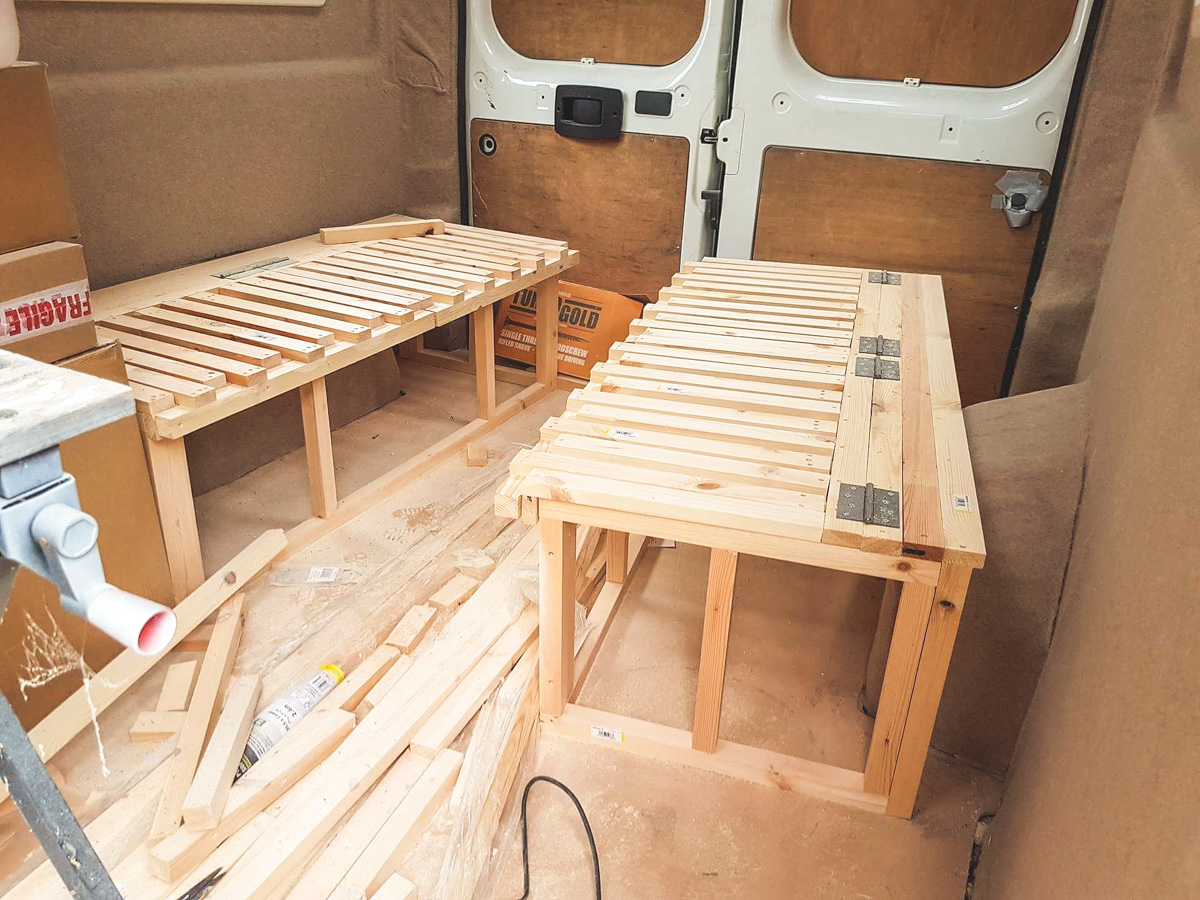
After that got installed (and that was such hard work trying to glue a hugee sheet of carpet to the walls without getting any folds and creases), Shane started on making the sofa/bedframe! So the general idea of the bedframe is that there’s a frame on each side around the wheelarches, which during the day is the sofa area where we’ll have a removable table that can fix into the floor for dinnertime, then at night the frame slides out and converts into a bed!
Shane built the whole thing from scratch, though the one in the photos above didn’t work out first time around as it was way too high, so we had to take it all apart and try to get it lower, which was a struggle with the height of the wheelarches being the issue, but we managed to sort it out in the end! It’ll also be used as storage underneath the sofa/bed where we can store the bedcovers when they’re not being used. Shane made it so the top lifts up for easy access.
Now all we need to do is fix the metal legs to the pull out sections and get some cushions made for it and that will be the bed completed! I think the plan next is to start working on the kitchen! We’re planning on putting the flooring in as late as we can manage because we don’t want it getting scratched with all the wood and screws everywhere at the moment. It’s definitely getting exciting now though!
If you want to see more behind the scenes posts/diys and campsite reviews, then check out our campervan blog!



1 Comment
Ruth
July 18, 2017 at 11:45 amNext step is hyping up the outside of the van. Giving it a tattoo artist appeal so looking cool.