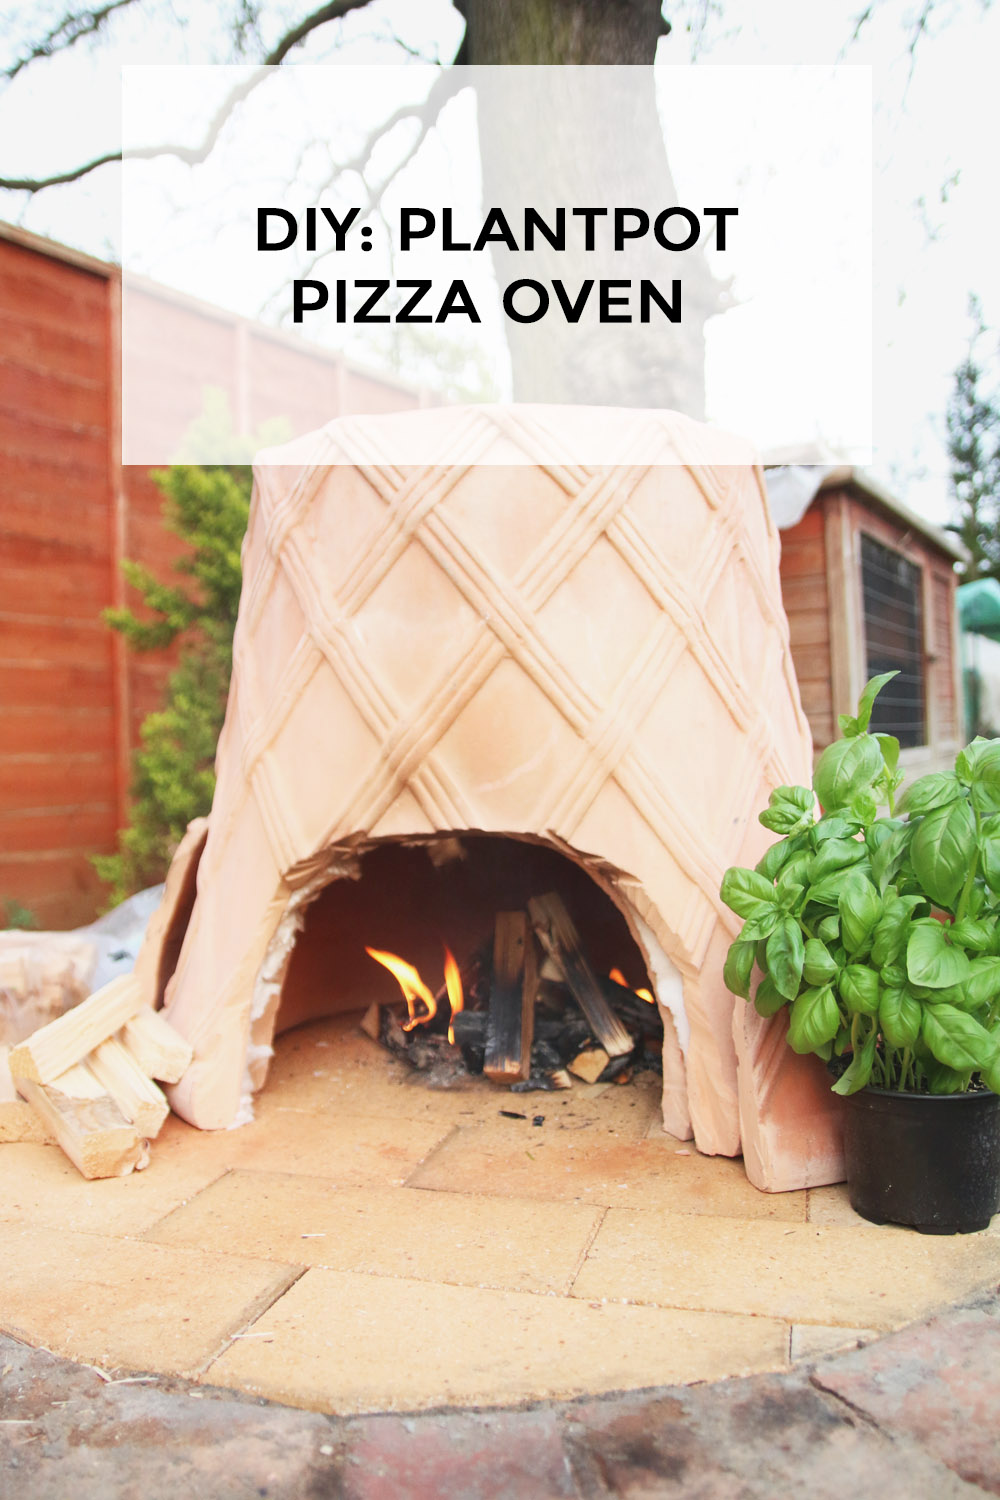
DIY Plantpot Pizza Oven
Shane and I have been wanting a Pizza Oven for years, but the only downside is they are SO expensive to buy! We always used to make homemade pizza dough and spend the evening building our perfect pizzas, but the dough would never crisp up enough for it to taste ‘proper’.
We were watching Jamie & Jimmy’s Friday Night Feast a few months back when Jimmy built a DIY pizza oven out of plantpots. Shane immedietely declared that we were going to build one ourselves, and I didn’t refuse! So we immediately started ‘Project DIY Plantpot Pizza Oven’!
So the basics of the pizza oven is a smaller inner terracotta planpot with a little door cut out, wrapped in ceramic fibre blanket, then a bigger terracotta plantpot which sits on top of some firebricks. The firebricks are needed as they absorb a lot of heat, so the heat from the fire inside heats up the bricks and crisps up and cooks the pizza base.
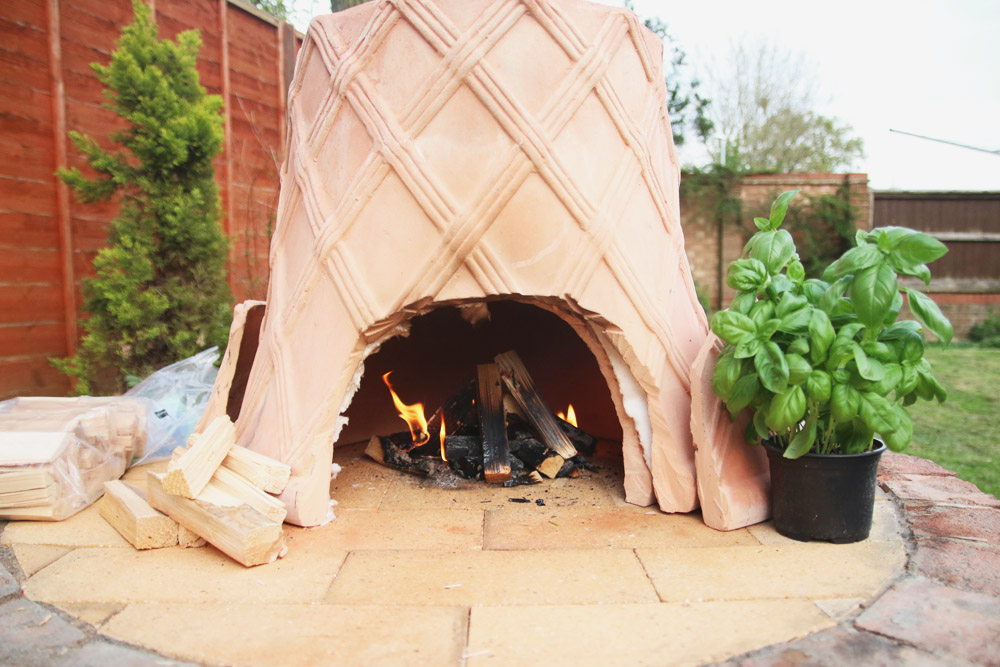
A few notes – we already had the surface to put the pizza oven on, but as we wanted the firebricks to sit flush with the bricks that were already there, and to properly fit around the circle, we needed a lot more bricks than you would normally need. Jimmy suggests getting a concrete slab or two and just laying the bricks in a square to fit that. Also, we quickly found out that it is crazy hard to cut firebricks, so I wouldn’t recommend that.
All you really need is enough to sit under the biggest plantpot, so roughly 15 depending on the size of your plantpot. Just remember, the bigger the inner plantpot, the bigger you’ll be able to make your pizza, so you’ll want them as big as you can find!
What you’ll need:
* a 60cm diameter frost resistant terracotta plantpot
* a 52cm diameter frost resistant terracotta plantpot (make sure the plantpots aren’t damaged/cracked in anyway)
* concrete block or paving slab
* roughly 15 firebricks (or enough to sit fully under the largest plantpot) we got ours from here (postage is ridiculously expensive due to the weight – they’re heavy , so we collected)
* 1 metre of 25mm ceramic fibre blanket
* cardboard for the door template
* infrared thermometer
* angle grinder with masonry disk
Step 1
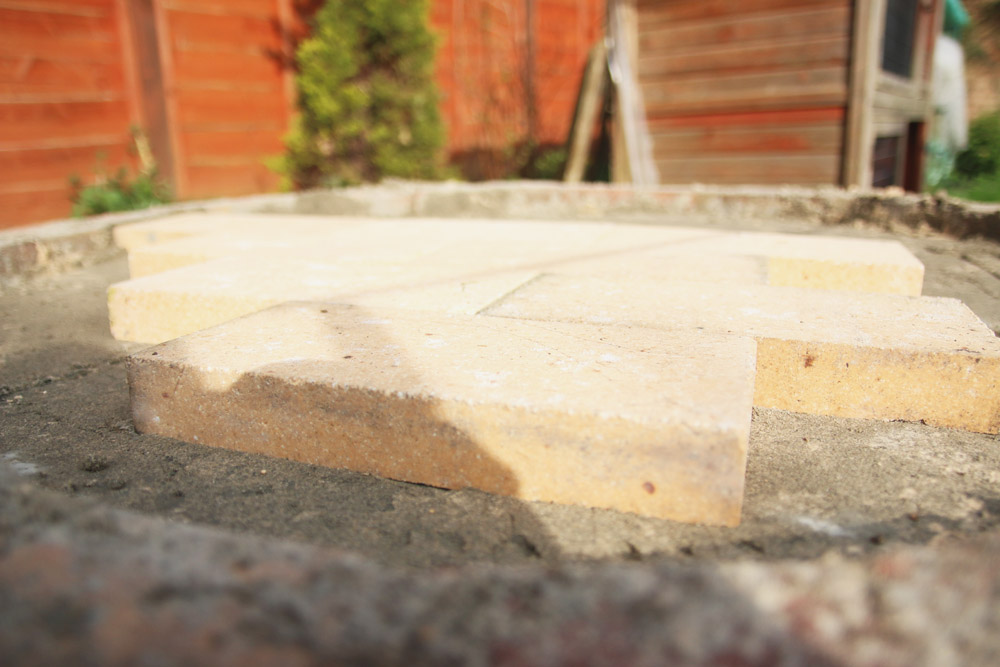
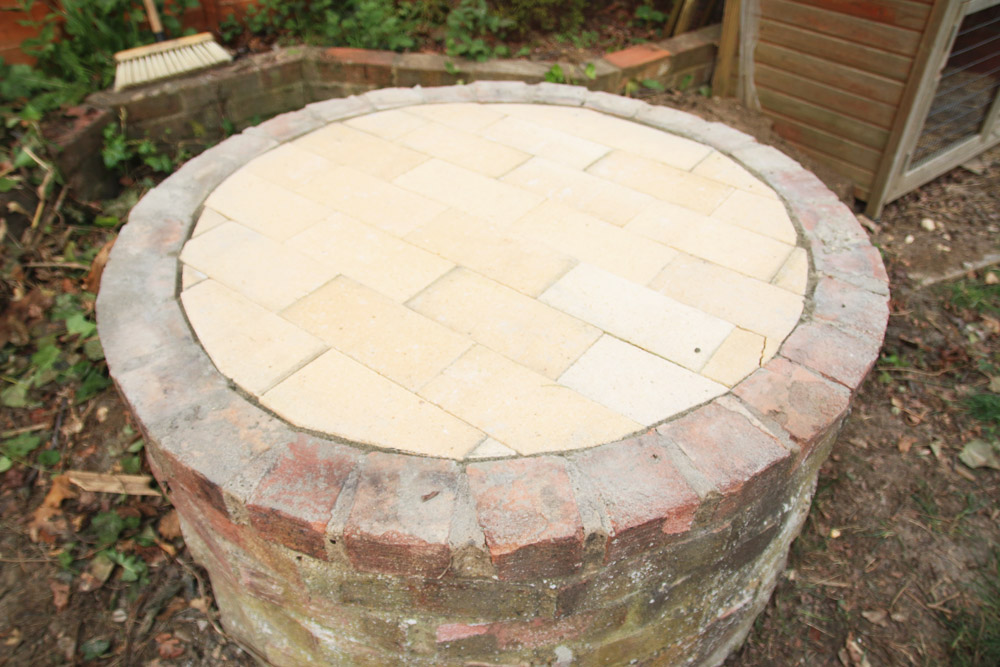
Lay out the firebricks on top of the concrete block. You want them to be as flat and even as possible, as this will be the cooking surface, so a large concrete slab is suggested. We cut ours to fit the area that we already had, but it was crazy hard to cut them, so I’d recommend just laying them in a square on top of a concrete slab. This means that you can also move it around if needed.
Step 2
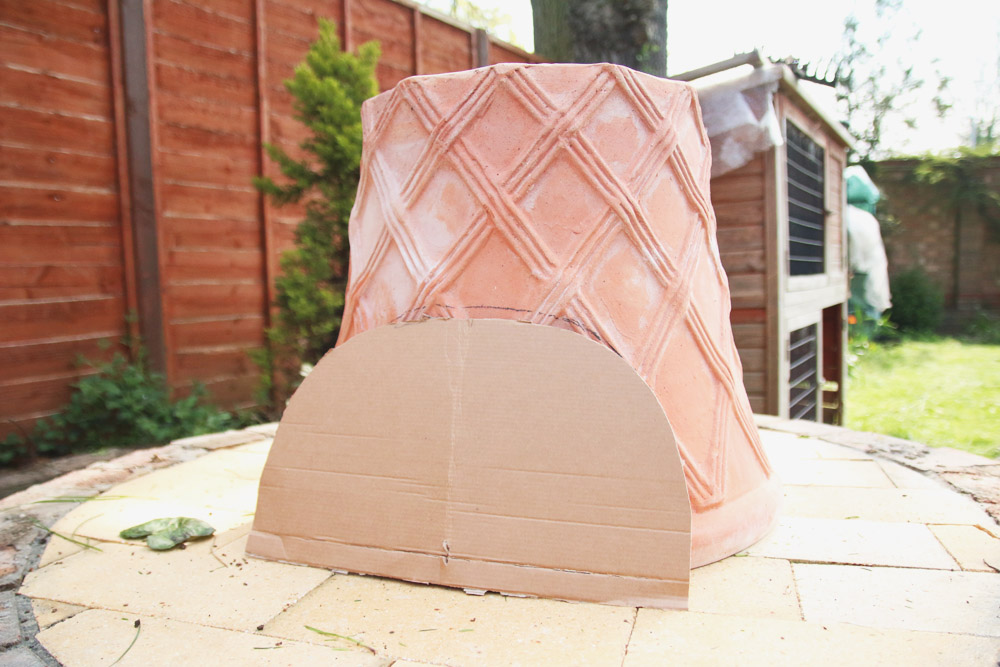
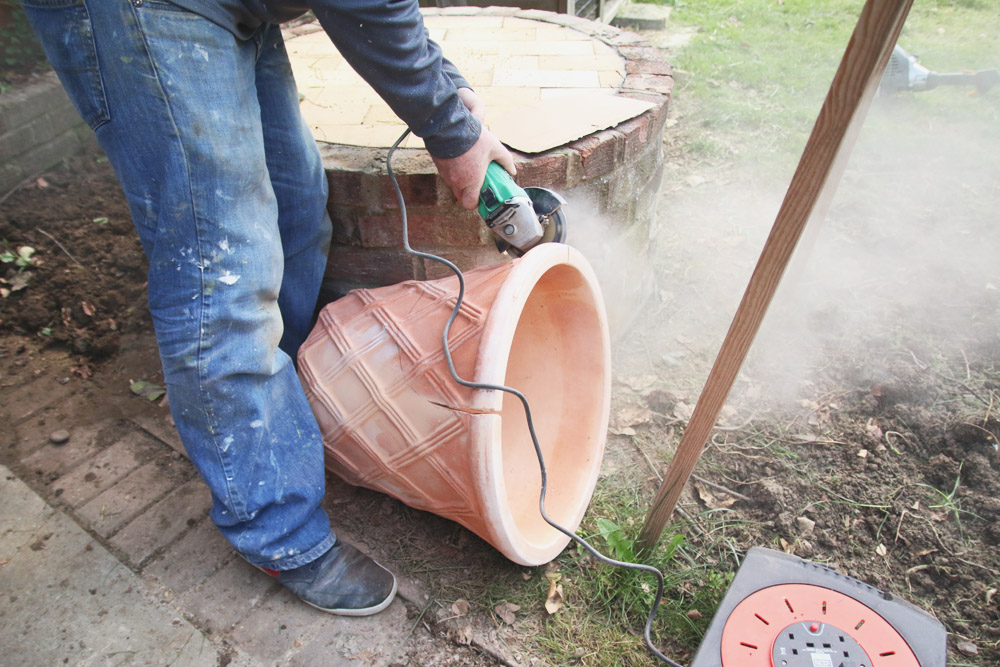
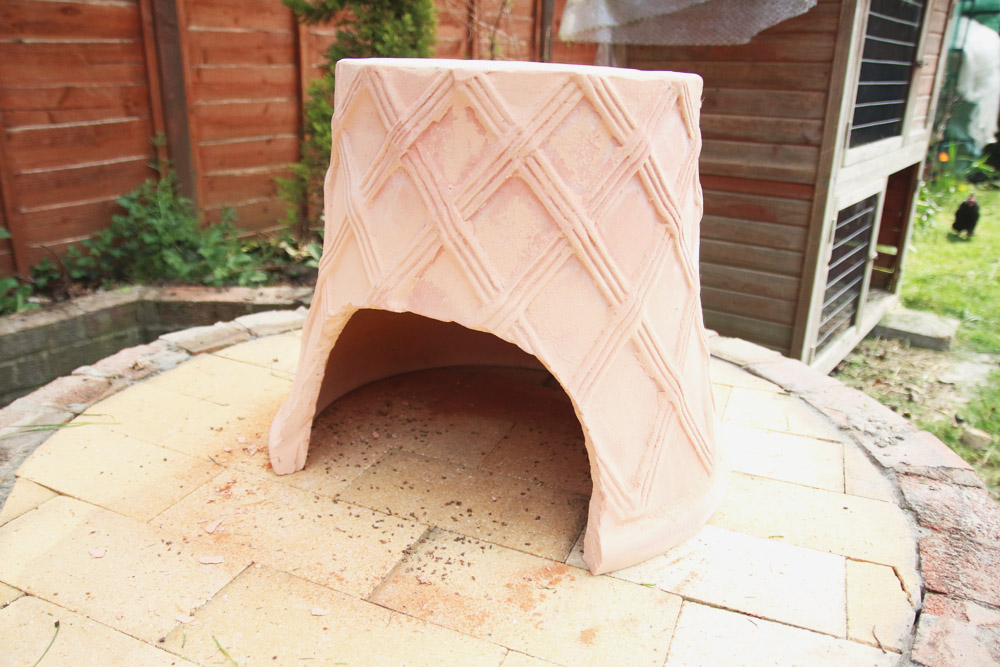
Use a spare piece of cardboard large enough to make a door template and mark out the size that you want the door. It’s recommended 30cm across by 10 cm high, but ours ended up around 27cm across and 20cm high. Mark the template out onto both plantpots, and with the angle grinder, cut out the door. Make sure that you have rounded corners on the door, rather than right angled ones as it will prevent the pots from cracking.
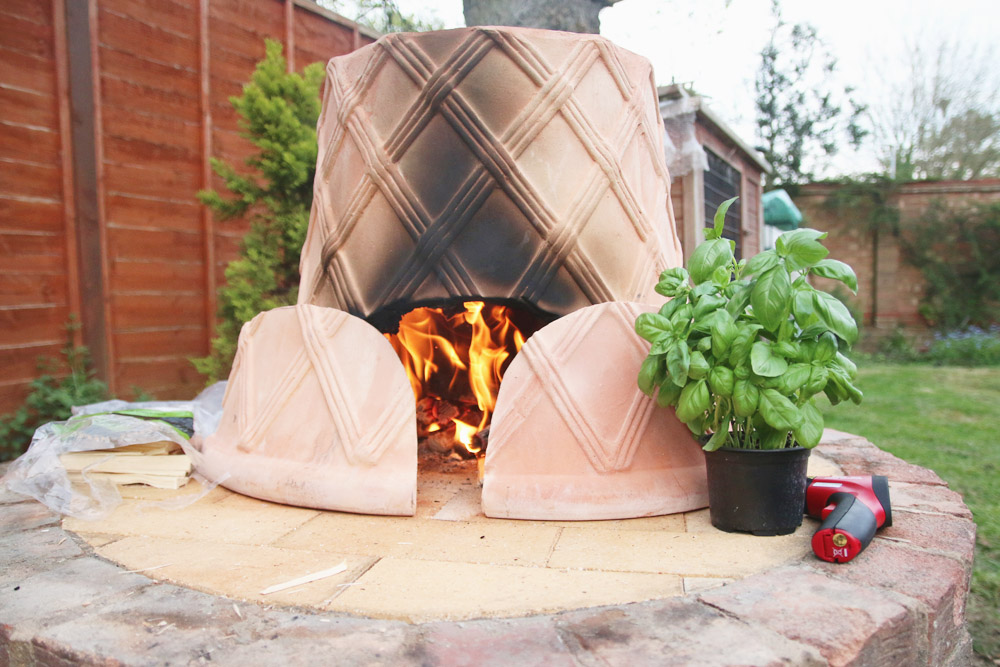
Just make sure it’s not too big otherwise a lot of the heat will escape – which you don’t want to happen. With ours, we just put the doors that we cut off from the plantpot across the front to trap in a little more heat.
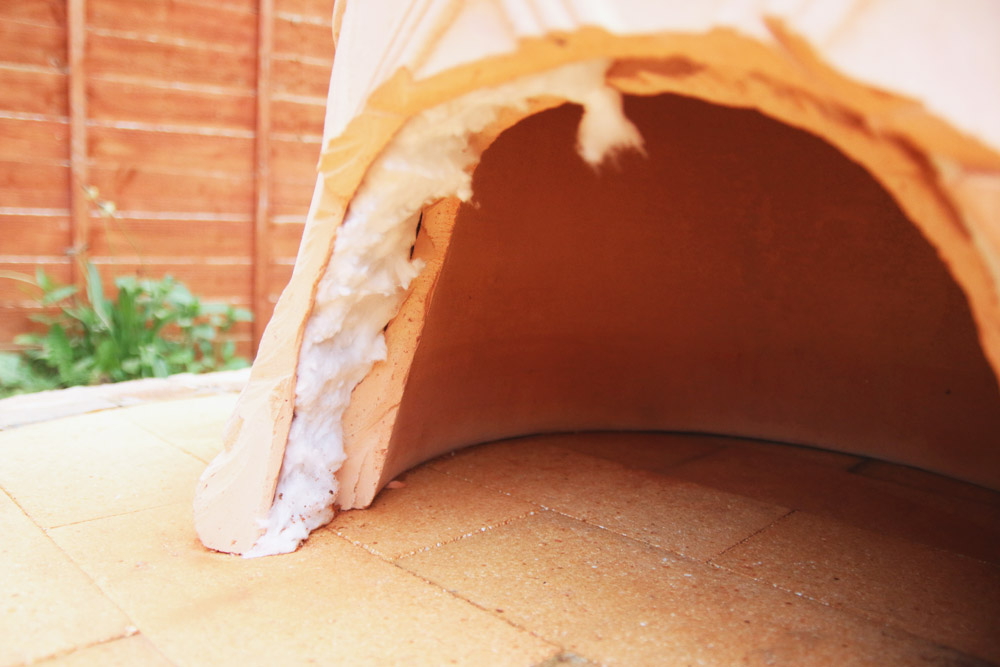
Step 3
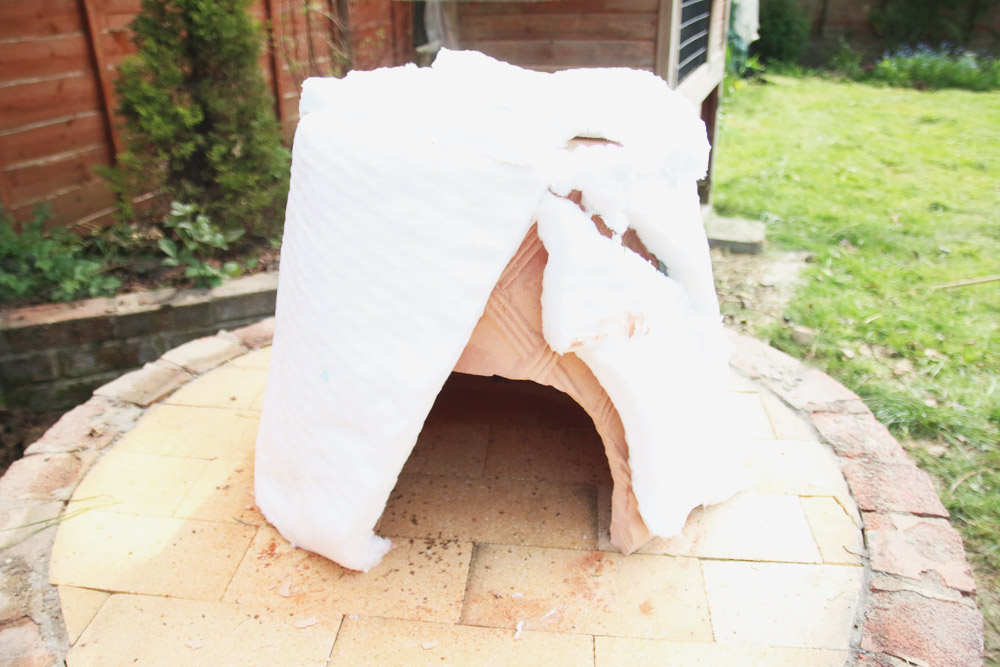
Position the smaller plantpot onto the centre of the firebricks, then wrap the ceramic fibre blanket around the plantpot. Place the larger plantpot over the top of the blanket and make sure it’s all covered. Cut away any excess fibre blanket from the door then clean out any mess.
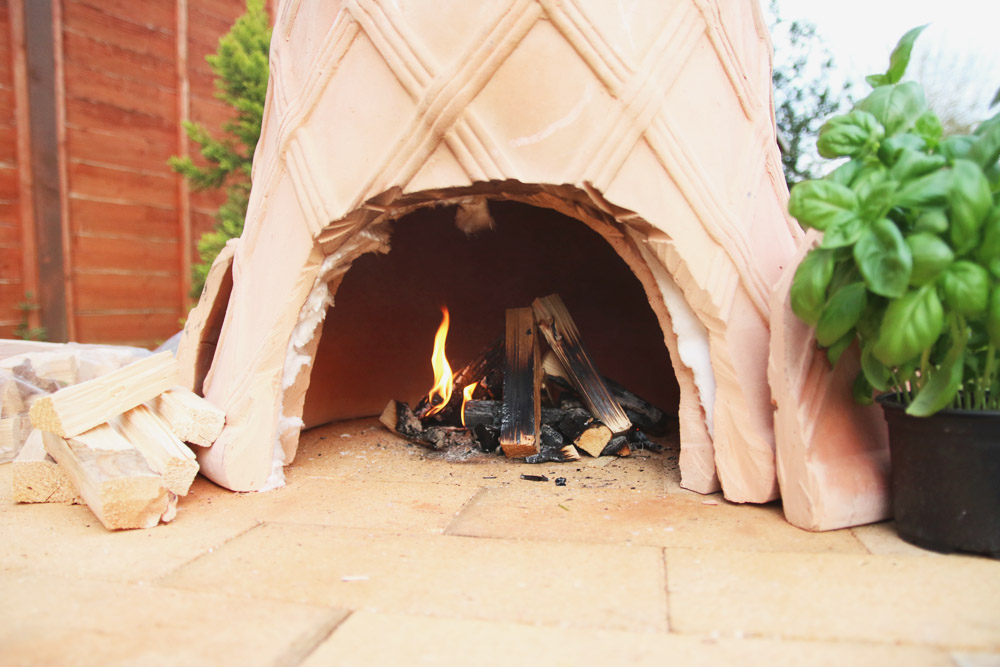
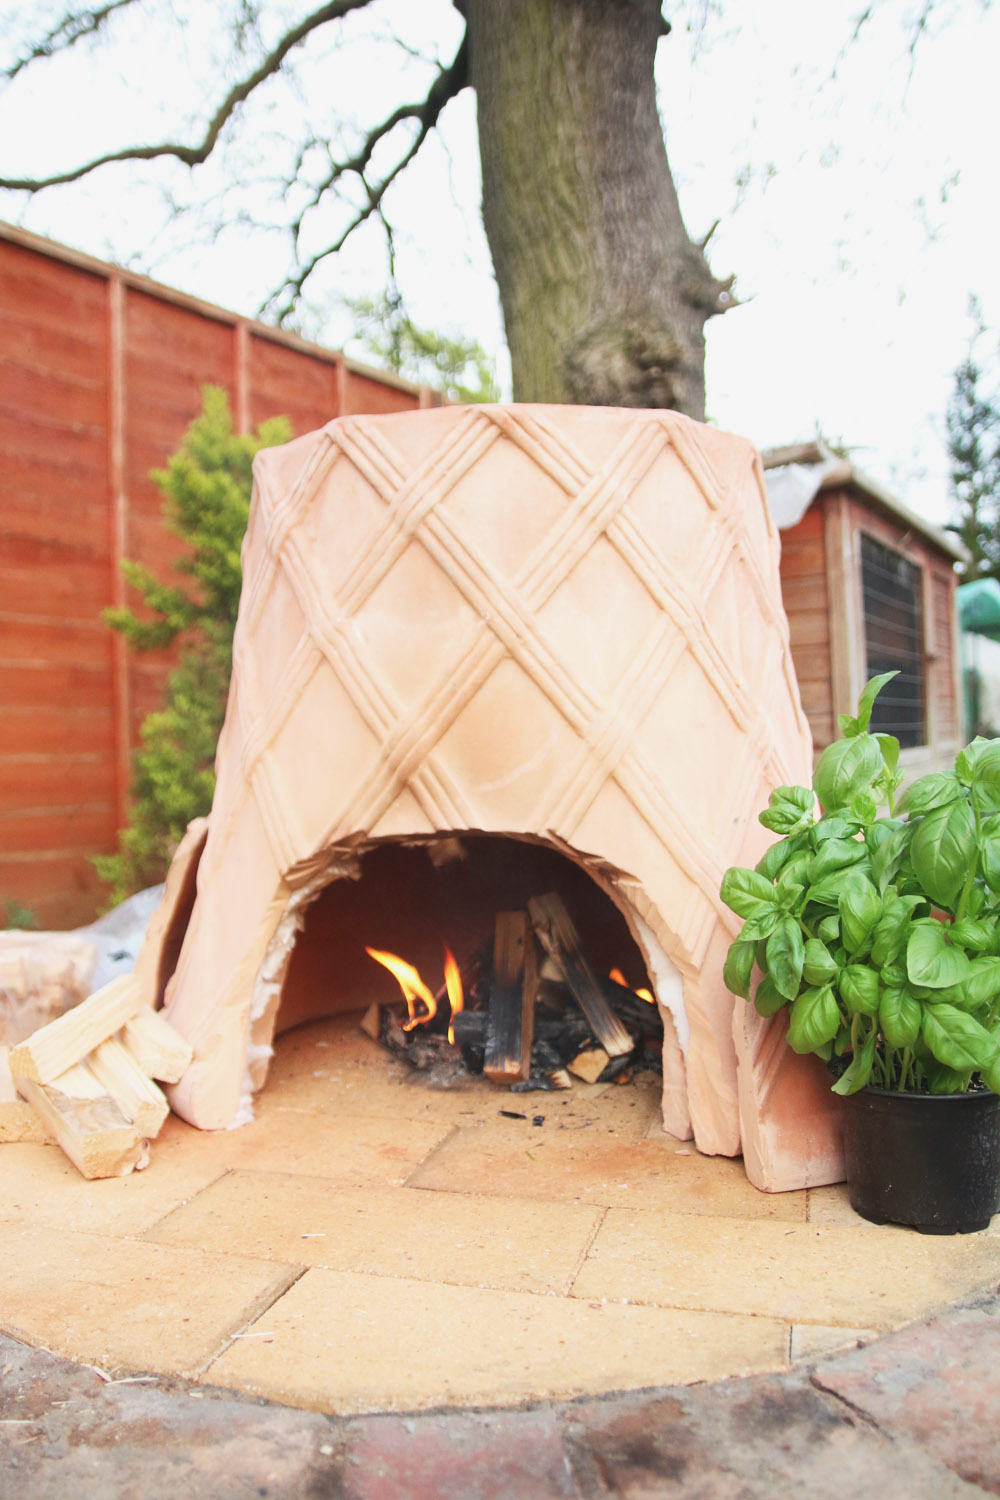
Step 4
To start the pizza oven, light it with only a tiny fire to start so that the plantpots don’t crack. For our fire we used kindling as it’s nice and small. You’ll want to use any wood that is for house fires, as it’s been thoroughly dried out so it won’t produce too much smoke when it’s burned and it’s clean – don’t forget you’ll be eating off that surface!
Once the kindling has almost gone out, the plantpots should be nice and warm. Put some larger chunks of wood inside to burn and leave it to warm up for around 30 minutes to an hour. This is where you’ll need the infrared thermometer to check the temperatures. You want the bricks really hot (around 200°C+) so that the base of the pizza cooks, but you want the air inside and the plantpots to be around 250-300°C so that the toppings go all gooey and melt.
Once it’s reached a hot enough temperature, push the wood remains to the back of the pizza oven and then it’s time to cook your pizza! Just slide the pizza base onto the hot firebricks where the fire just was, and it should be cooked in roughly 5 minutes!
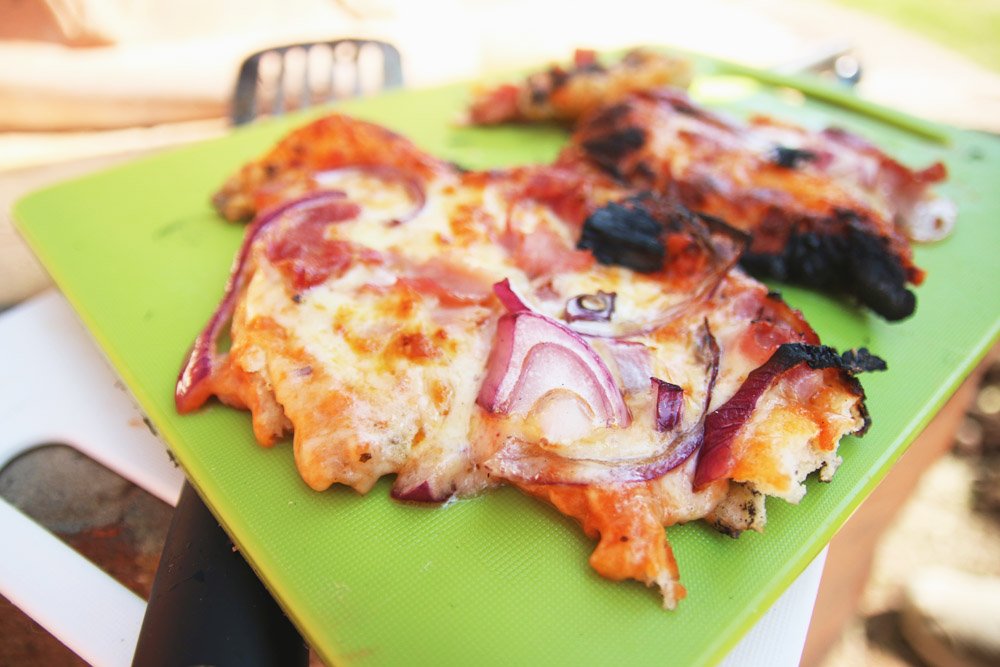
You’ll need a pizza paddle to put the pizza in and out of the oven. Because our door is smaller than 30cm across, we haven’t found any pizza paddles online small enough, so we’re going to have to make our own. Jimmy suggests using a baking tray, cut the edges off and down to size, then get an old broom stick and screw it together to create your own.
One thing we learnt on it’s first use yesterday was to use semolina on the base of the dough! We forgot to buy some, so dusted our dough with flour instead, but it stuck to the board. We struggled to get it into the pizza oven and it ended up with holes and toppings everywhere. Because the cheese had melted through all the holes onto the bricks, it was a struggle to get it out again so they didn’t turn out too pretty, but they did taste amazing! I’m not lying when I say, these were the best pizzas we’ve ever ate – even over the ones we had in Italy!
I’d definitely recommend doing this! It was so much fun to make it and I had my doubts as to whether it was actually going to work, but it did and it tastes amazing! I can’t wait to have some friends round and get the pizza oven on – we’ll just make sure to dust everything with semolina first!
* This post contains some affiliate links at no extra cost to you, but I do make a small amount of commission on any purchases.





12 Comments
Marlena
May 9, 2016 at 6:04 pmThis is such an incredible idea!! I’ve never seen anything like it! The pizza comes out looking absolutely delicious as well! I wish I had some outdoor space to build something like this. Taking note for my future house 😉
April
May 10, 2016 at 6:47 amI know! Whenever I was looking for DIY pizza ovens, you had to have clay and bricks and basically build the whole thing yourself. This was so simple and pretty easy too – if you know how to use an angle grinder haha!
I hope you get to make it one day, because it is amazing!
xo April
Melanie Fontaine
May 10, 2016 at 3:01 pmI love that you built your own pizza oven! That’s definitely something I want to do if I ever have a garden – I’m sure the taste is out of this world! 🙂
April
May 11, 2016 at 6:50 amIt was so much fun to make – and didn’t cost all that much to buy the stuff needed (way cheaper than buying an actual pizza oven). They tasted SO good! I loved the smokey flavour it created!
xo April
Lucy
May 12, 2016 at 9:02 amWhaaat this is a fantastic idea! I got really excited for a minute too until I remembered we don’t have a garden here haha. One to send home to my parents who are going through a DIY/arts and crafts phase! xxx
Lucy @ La Lingua | Food, Travel, Italy
April
May 12, 2016 at 5:52 pmOh no! That’s such a shame! I’d definitely save it for them (or the future) because it is seriously one of the best DIY’s I’ve ever done haha! The pizza tastes amazing!
xo April
Matt
April 15, 2017 at 4:35 pmI remember seeing this on Jamie and jimmies show. How has it stood up after a year? I’ve read that the terracotta pots soak up the rain?!
April
April 19, 2017 at 7:03 amHonestly, we haven’t actually had the chance to use it yet this year. It’s become a little bug hotel over winter though, but I’m sure if we clean it all out and slowly heat it up it/dry it out before the first cook this year it should be fine to use!
Dan
February 24, 2018 at 5:49 pmHave you had any problem with the pots cracking?
April
March 3, 2018 at 6:27 pmWe actually didn’t use it last year, but they haven’t cracked so far. I think you’re supposed to heat them really really slowly to dry them out if they’re damp, and even when you first light them when they’re dry, it’s recommended to make a small fire inside to begin with, then once that’s heated up gradually, to make the main fire. That should prevent any of the pots cracking!
Malcolm Wilcox
March 24, 2019 at 1:55 pmWhere did you source the pots from? I’m having real difficulty finding suitable pots
April
March 25, 2019 at 7:12 amYou can look on ebay for some old ones going for cheap, but for ease, we just popped to our local garden centre and bought the biggest terracotta plant pots they sold, making sure they had to cracks or chips in them.