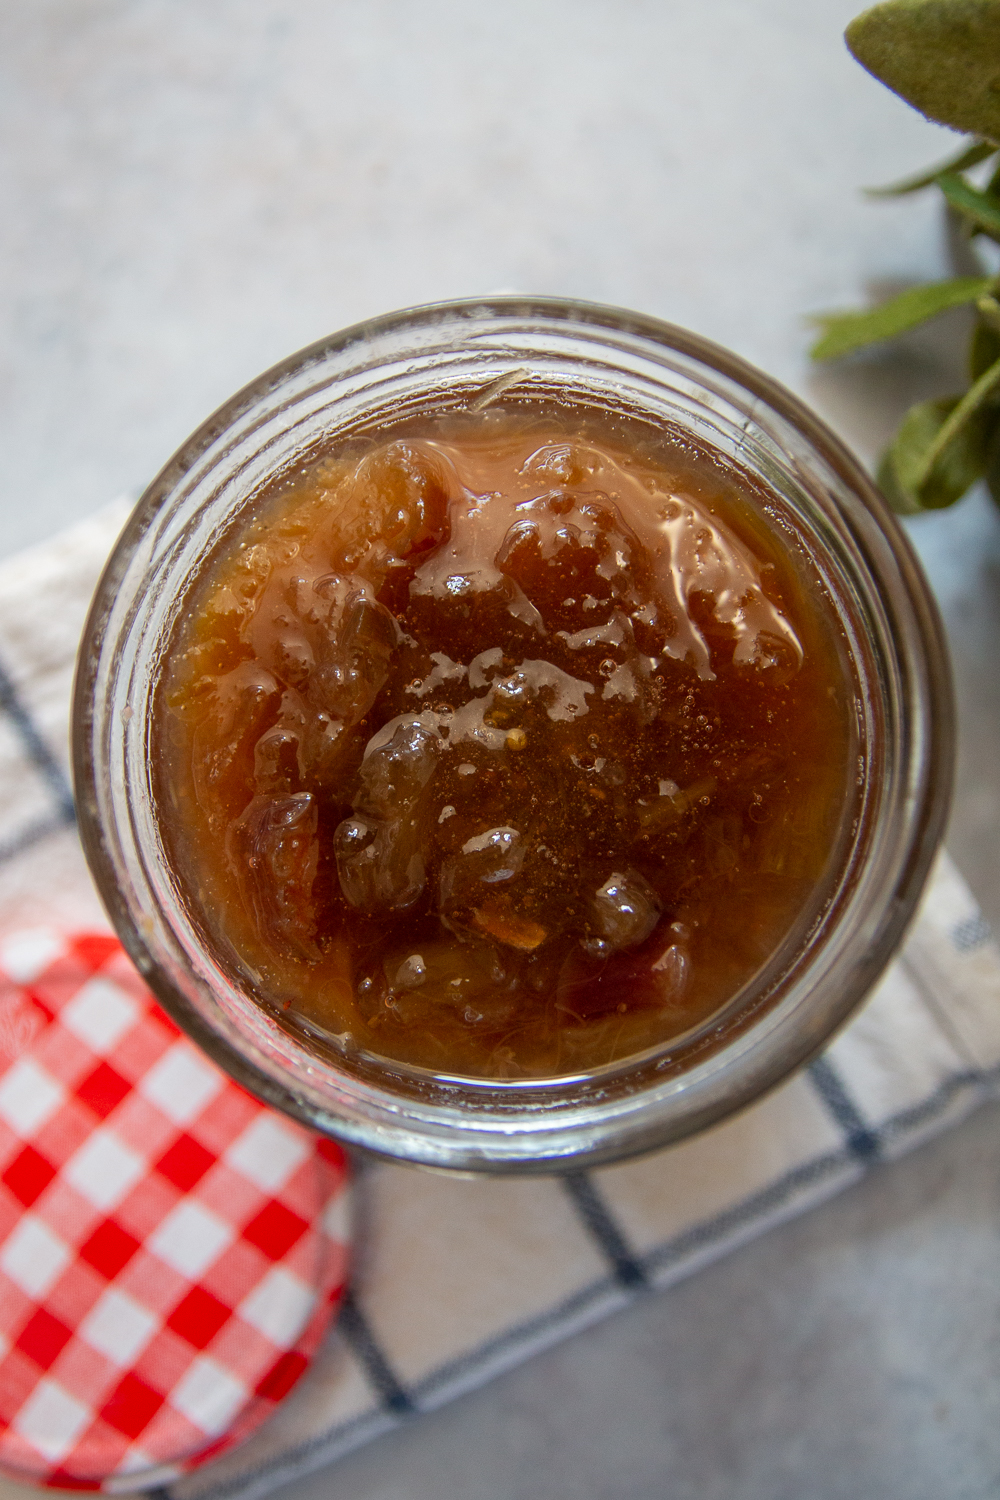
Homemade Jam
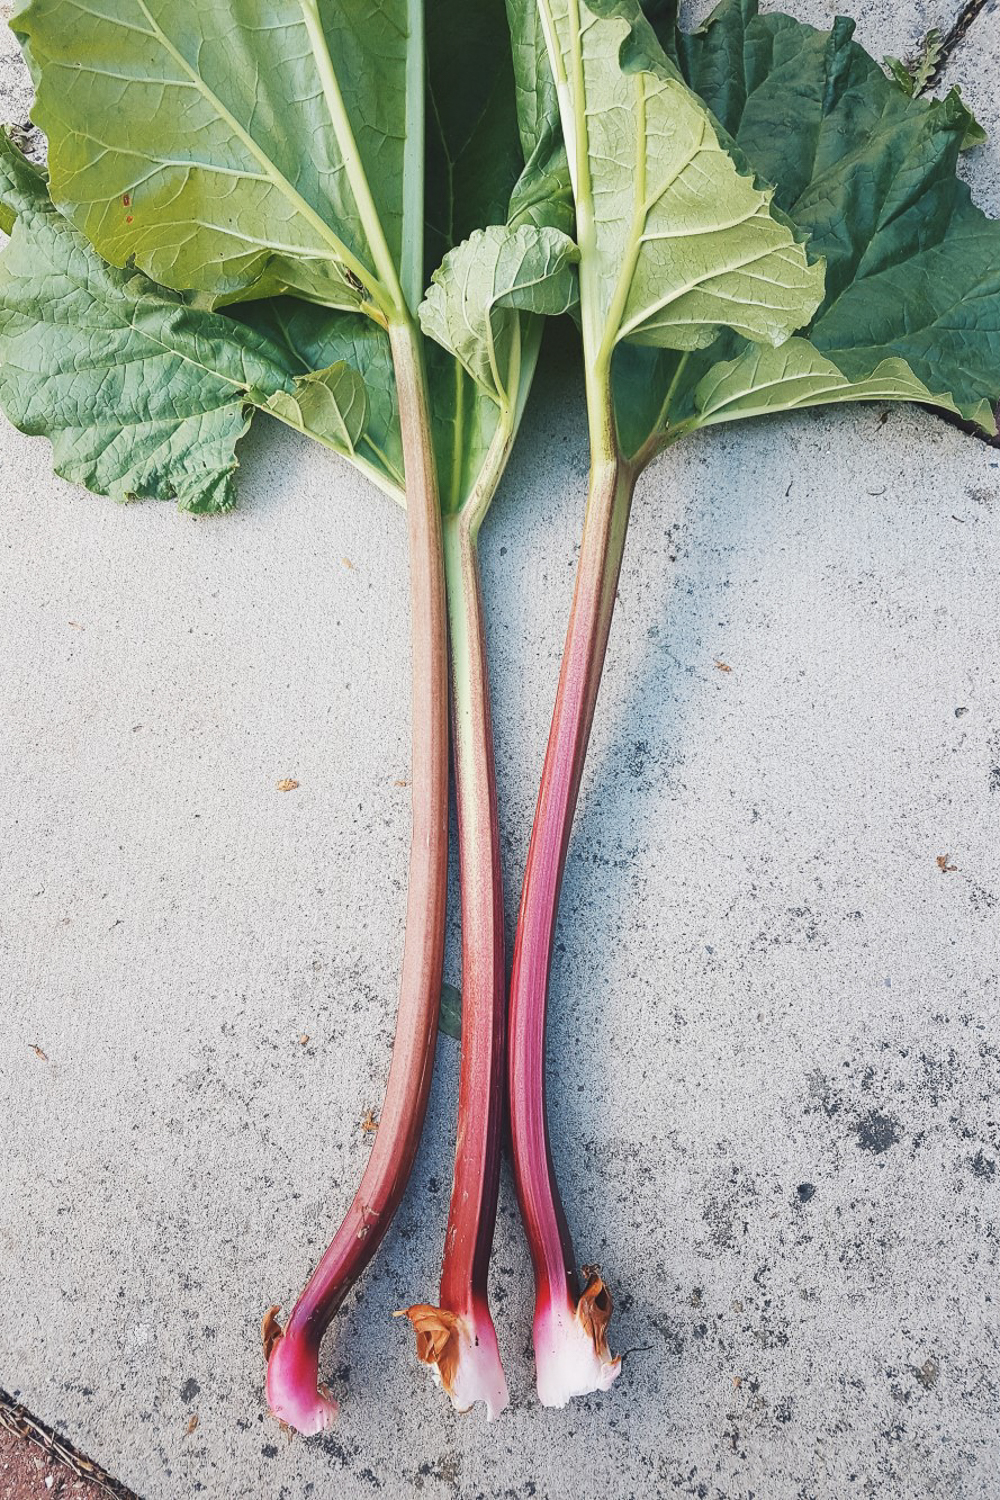
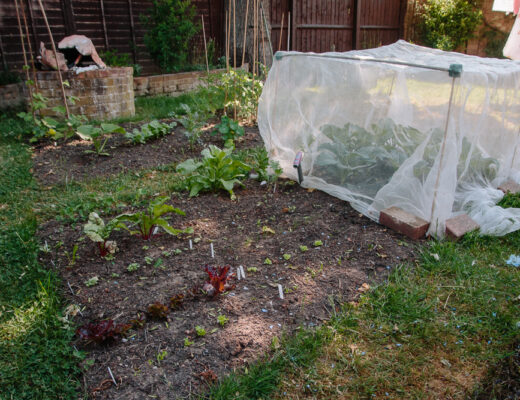
I always try to eat with the seasons. I think you tend to think about it more when you grow your own vegetables because you know what you can and can’t grow when. One thing that we always overlook in our garden (sadly) is the rhubarb plant that we planted a few years ago! We usually make a crumble or two, but that’s about it and the rest of the stalks go to waste (well, to the compost bin).
Each spring for the last few years, I’ve been meaning to make some rhubarb and elderflower jam. I’ve never made jam before, but I thought it would be the perfect chance to finally get round to making some! Strawberry and Rhubarb is also a lovely combination, and I saw a lot of recipes for gooseberry and elderflower jam too!
Foraging for Elderflowers
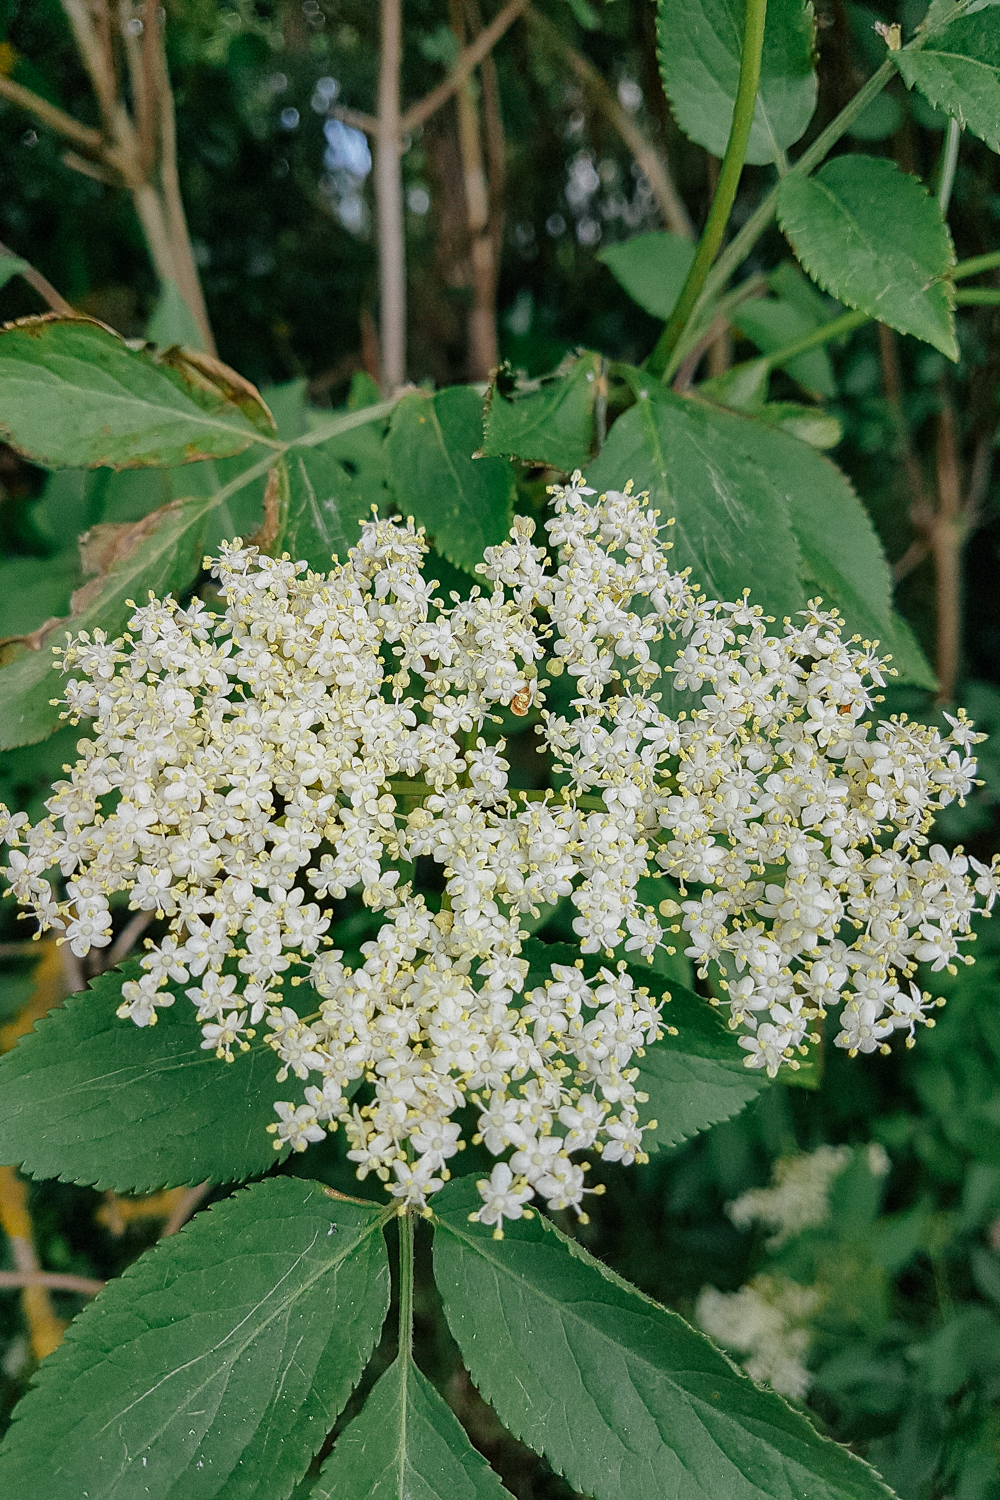
A few years ago, we went on the hunt for some elderflowers to make our own elderflower cordial. It was getting to the end of the season, and there wasn’t really much around us, but the other day while on one of our lockdown walks we came across an area with hundreds of elderflower trees, so we picked a few sprigs to bring back and finally make the rhubarb and elderflower jam that has been on my list for years!
If you’re not sure which plants are elderflower, this guide is super helpful! You’ll find elderflowers in bloom (mostly in hedgerows) from late May to mid June. They’re best picked freshly open on a warm, dry, sunny day when the flowers are nice and white/pale yellow. Discard any browning flowers as these are over their best.
Ingredients (Makes approx 740g of Jam)
* 450g rhubarb, cut into 1cm chunks
* 450g sugar (regular sugar will do)
* 5 elderflower heads
* 1½ tbsp lemon juice
How to Make it
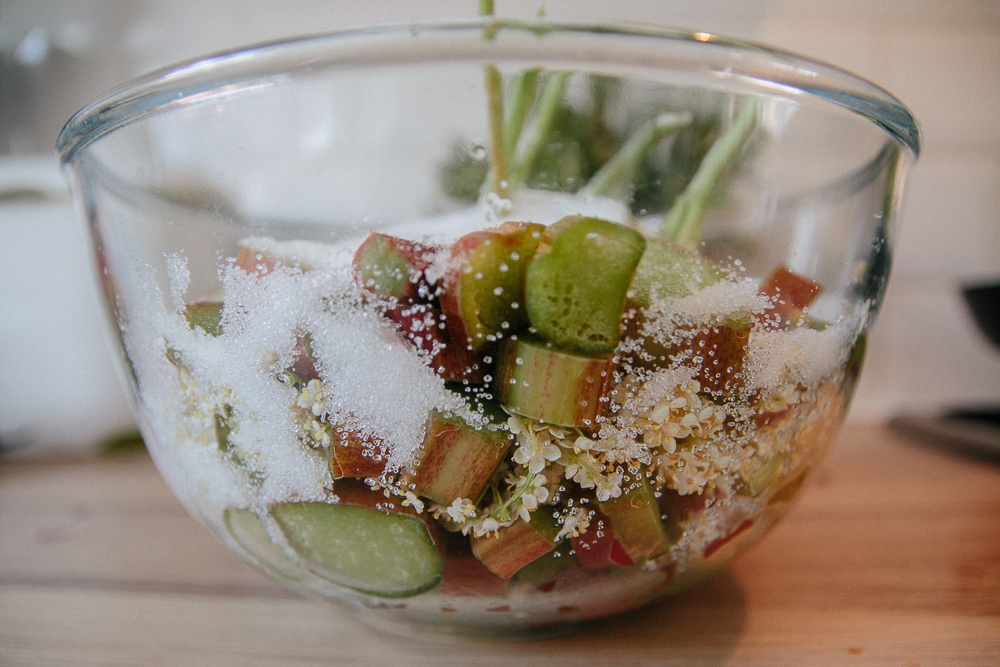
1. Gently wash the elderflower heads and place into a non-metallic bowl, flowers down, leaving the stalks sticking up. Slice the rhubarb into 1cm chunks, place into the bowl on top of the elderflowers and cover with the sugar. Leave this covered overnight or for a minimum of 7-8hrs until the sugar has turned to syrup.
2. Heat your oven to around 60-100ºc and place your clean + dry jars and lids facing down on the shelves to steralize them (I used 2 empty Bonne Maman jars and it filled 2 perfectly). Place a small plate into the freezer for your jam test later on.
3. Pour the sugar, rhubarb and elderflower mix into a saucepan with the lemon juice and slowly bring to a simmer. Once the sugar has all dissolved, remove the elderflower stalks from the pan (I put these back into the sugary bowl, boiled the kettle and just covered the flowers with boiled water and a splash of lemon juice to make a quick glass of elderflower cordial for myself). Continue to stir on a low heat until the rhubarb starts to break down. Mine took a good 10-15 minutes – it felt like I wasn’t getting anywhere, but it eventually started to soften!
4. As the rhubarb starts to soften, smush it against the side of the pan to break it down further if needed. I had to do this quite a lot as my stalks were very thick. Once the rhubarb has softened, turn the heat up and boil until it reaches 104ºc – if using a jam thermometer *affiliate link (i didn’t, I just guessed). It will be a rolling spitty boil.
5. When the jam mix has thickened slightly, take the plate from the freezer and drop a small amount of jam on the plate. Slide your finger into the jam from the side, and if it’s still quite soft but wrinkles it’s done. If it’s still quite runny and your finger just slides through, cook it a little longer. You don’t want it to be too thick, so keep your eye on it and put the plate back in the freezer between tests to keep it cool. Don’t forget, it will set a tiny bit more as it’s properly cooled.
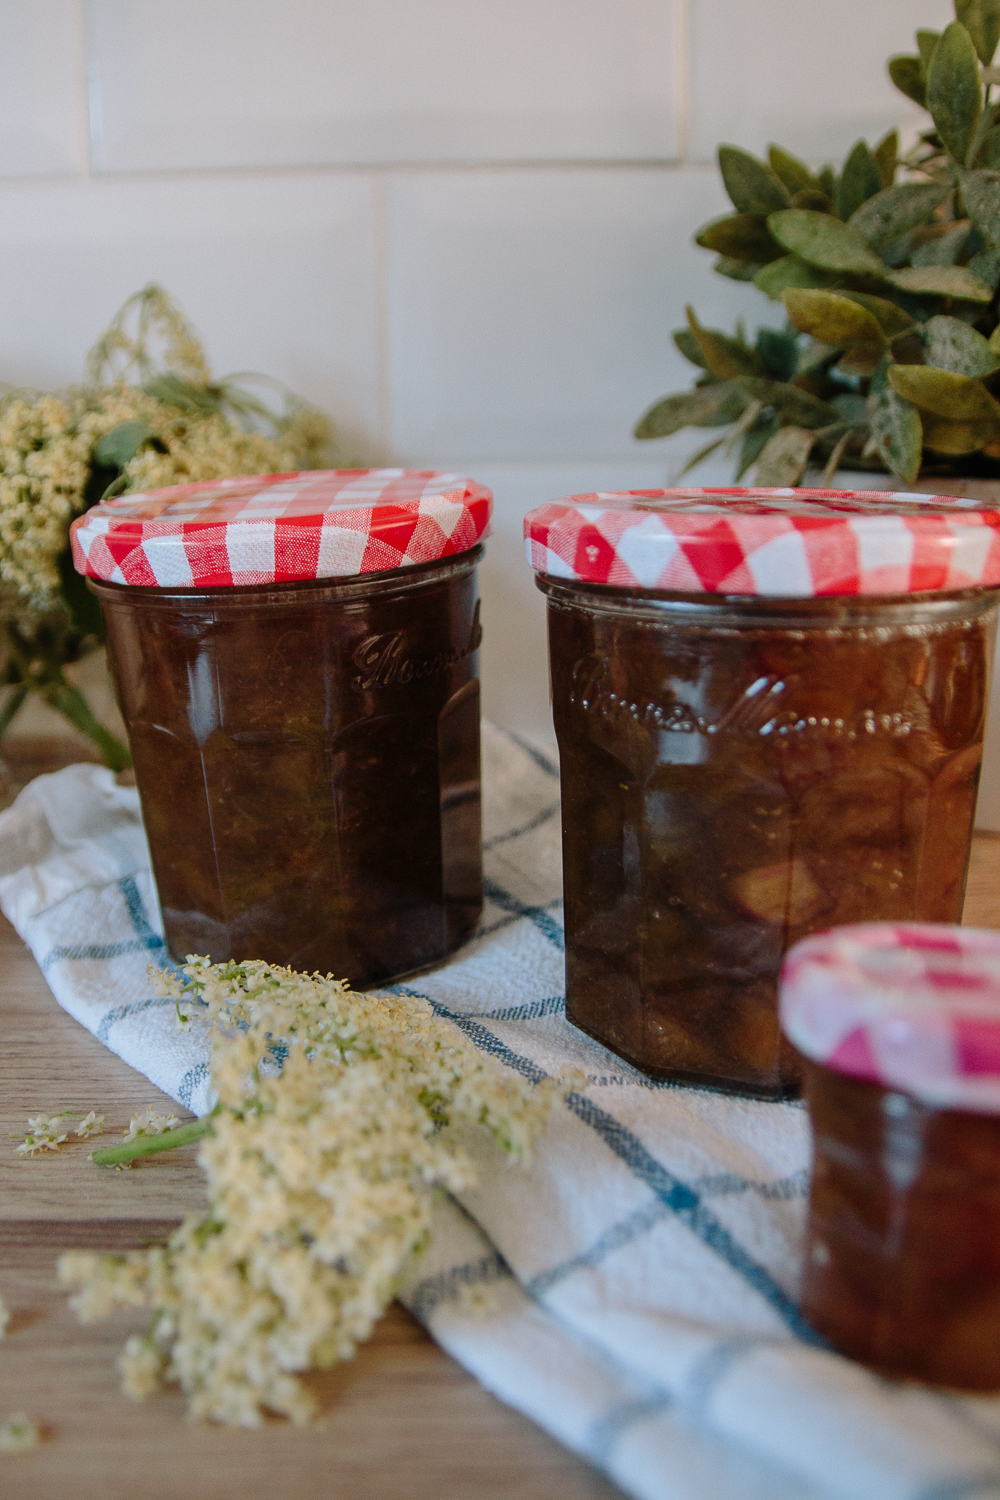
6. Remove the jars from the oven (be careful, they’re hot) and spoon the mixture into the jam jars. Place the lid on straight away and leave to cool. Once cool, you’ll notice the little bit in the middle of the lid will no longer pop when you press on it (like when you buy them from the shop) if they’re sealed correctly. You can store them in a cool dry place for up to 12 months (if they last that long).
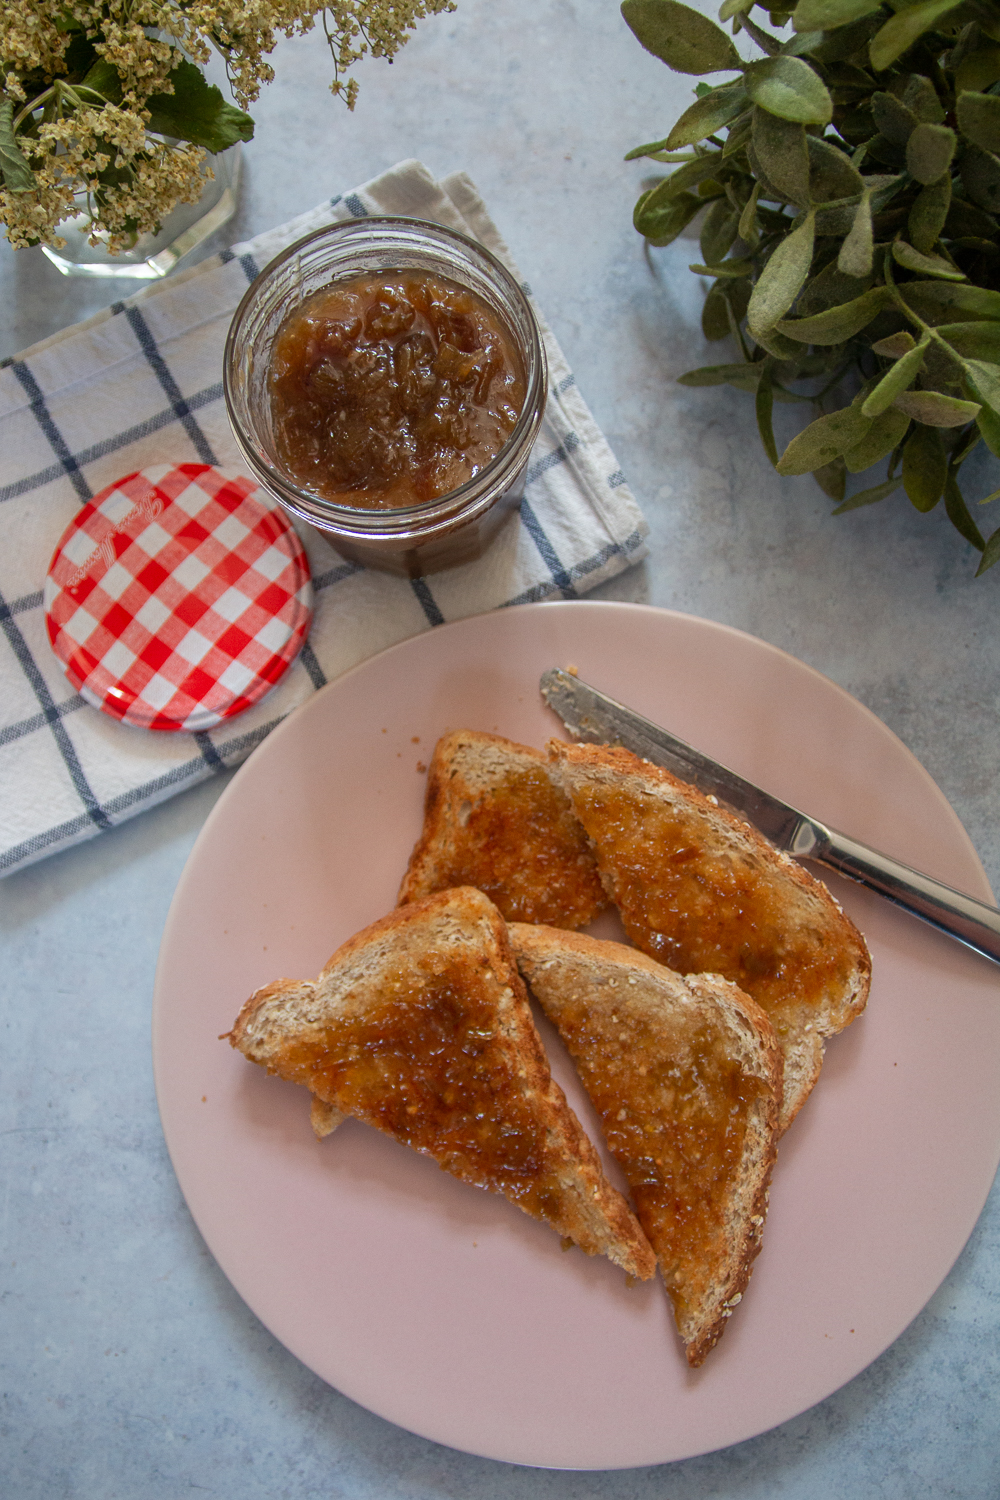
Well that’s all there is to it really! Just be sure to keep everything super clean and sterile, otherwise the jam will end up going mouldy which you don’t want! It was a lot easier to make than I thought it would be and it tastes amazing! I love it just simply spread on toast for breakfast, but I can imagine it being lovely and refreshing served on scones, or even as an alternative to strawberry or raspberry jam in a victoria sponge too!
Obviously if you want more jam, you can just double the ingredients, and if you want less then half them. I wish I had more rhubarb, as otherwise I’d have made more to last me through the year, but I have a feeling that this is only going to last us a month or so before we’ve eaten it all… if that! Maybe I should try and find more rhubarb and grab some elderflowers while I can and make another batch!
Now I want to make all the jams! I’m excited for blackberry season this autumn to make some blackberry jam too! Have you made jam before?

No Comments